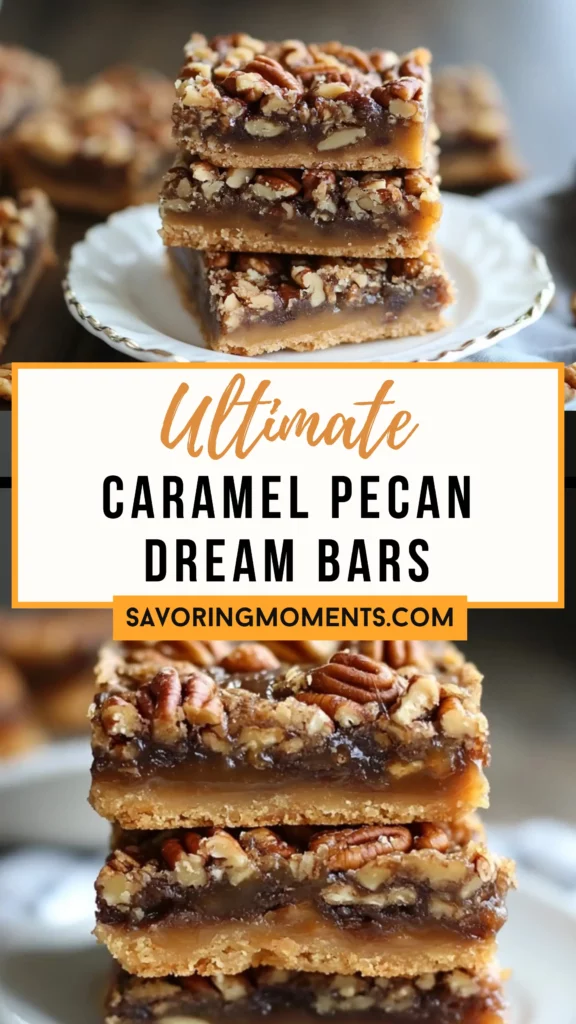
There’s something undeniably comforting about a dessert bar. Maybe it’s the perfect balance of chewy, crunchy, and sweet in every bite. Or maybe it’s the nostalgia that clings to them—reminiscent of family potlucks, school bake sales, and holiday trays passed around a crowded table. These Caramel Pecan Dream Bars are no exception. In fact, they may be the most comforting of them all.

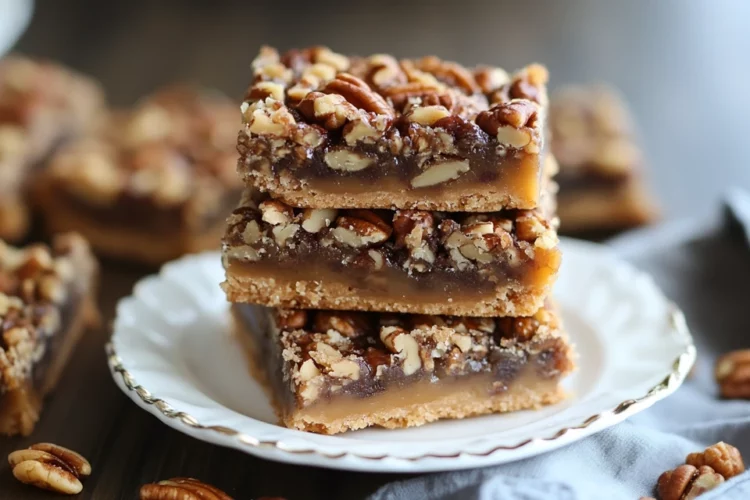
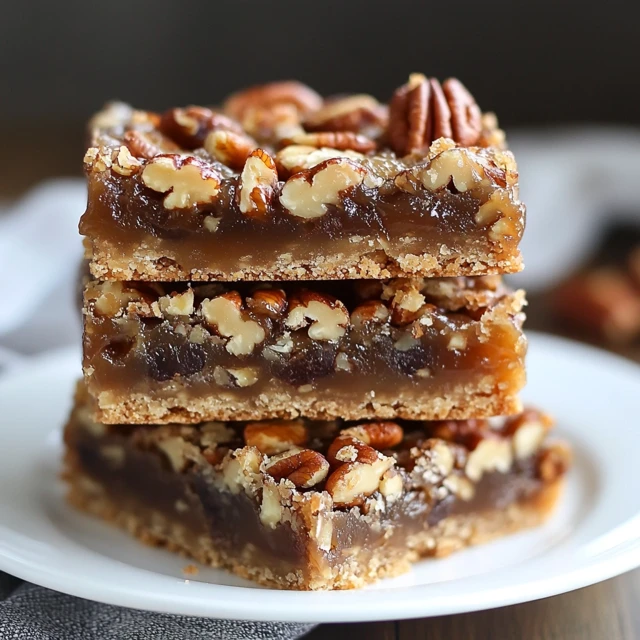
I remember the first time I tasted something like this—my aunt had brought a tray of them to Thanksgiving dinner, and I nearly forgot about the pumpkin pie. They were warm from the oven, the caramel bubbling gently around toasty pecans, all on top of a soft, buttery crust. It was magic. The kind of dessert that makes people pause mid-sentence to say, “What is this and can I have the recipe?”
These bars have a way of making ordinary days feel a little more special. They’re simple enough for a weekday bake, but decadent enough for celebrations. The richness of the caramel combined with the nutty crunch of pecans creates an irresistible texture, while the soft shortbread base keeps it all grounded. It’s a dessert that doesn’t try too hard, yet always impresses.
Why You’ll Love This Recipe:
- Classic comfort: This recipe brings together timeless flavors of buttery crust, sweet caramel, and toasted pecans.
- Easy to make: No fancy tools or techniques—just layer, bake, and enjoy.
- Perfect for any season: Whether it’s a holiday dessert tray, a picnic treat, or just something sweet for a cozy night in, these bars fit right in.
- Great for sharing: Makes a generous batch perfect for gatherings, gifting, or freezing for later.
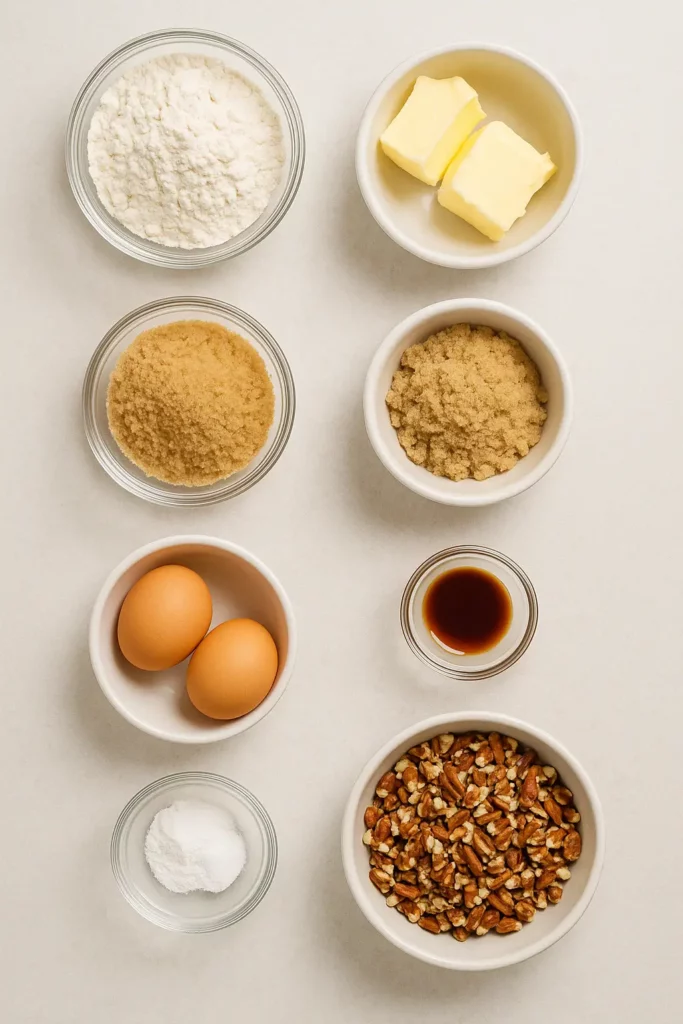
INGREDIENTS YOU’LL NEED:
For the crust:
- 1 cup all-purpose flour
- 1/2 cup butter, softened
- 1/4 cup brown sugar
For the topping:
- 2 large eggs
- 3/4 cup brown sugar
- 1/2 teaspoon vanilla extract
- 2 tablespoons all-purpose flour
- 1/2 teaspoon baking powder
- 1/4 teaspoon salt
- 1 cup chopped pecans
HOW TO MAKE CARAMEL PECAN DREAM BARS:
STEP-BY-STEP INSTRUCTIONS:
Step 1: Preheat and prep
Start by preheating your oven to 350°F (175°C). Lightly grease a 9×9-inch baking dish or line it with parchment paper for easier removal later.
Step 2: Make the crust
In a medium bowl, combine the flour, softened butter, and brown sugar. Mix until the mixture resembles coarse crumbs. You can use a pastry cutter or just your hands—this part is wonderfully tactile, like working with soft, sugary sand.
Press the mixture evenly into the bottom of the prepared pan, pressing down firmly to create a solid base. Bake for 12–15 minutes, or until it just starts to turn golden. This gives it that beautiful shortbread texture.
Step 3: Prepare the topping
While the crust is baking, whisk the eggs in a medium bowl. Add the brown sugar and vanilla, stirring until smooth. Sprinkle in the flour, baking powder, and salt, and whisk until fully incorporated.
Fold in the chopped pecans—this is where the magic happens. The mixture will look like a thick, gooey caramel dream.
Step 4: Layer and bake again
Once the crust is ready, take it out of the oven (but leave the oven on). Pour the pecan mixture evenly over the warm crust, smoothing it out with a spatula.
Pop it back into the oven and bake for another 25–30 minutes, or until the topping is golden brown and set in the center.
Step 5: Cool and slice
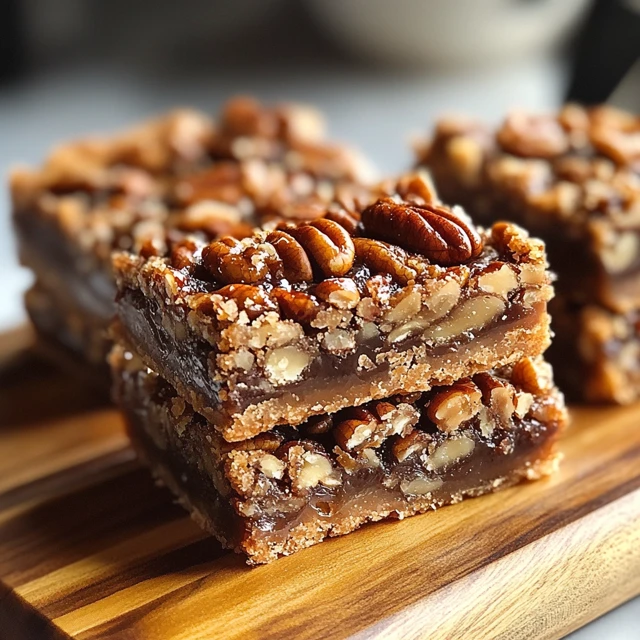
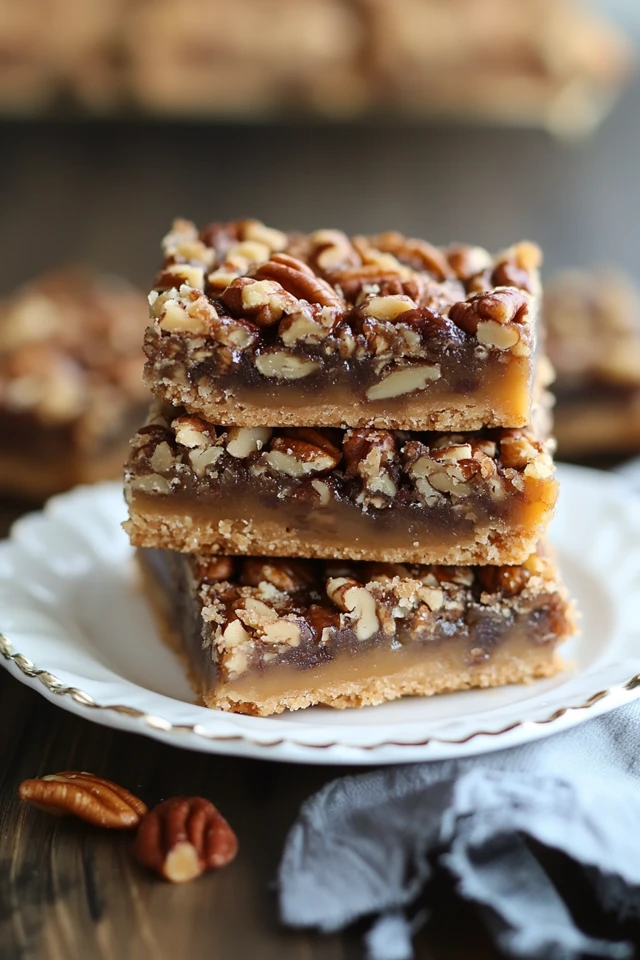
Let the bars cool completely in the pan—this is the hardest part, but it’s worth the wait. Once cool, slice into bars or squares. You’ll get clean, beautiful edges and a perfectly chewy texture.
HELPFUL TIPS:
- Don’t skip the cooling step: It might be tempting to dive in, but letting the bars cool ensures the caramel sets properly and slices neatly.
- Toast your pecans: If you want an even deeper flavor, you can toast your chopped pecans in a dry skillet for 2–3 minutes before adding them to the batter.
- Parchment paper for easy removal: Line your pan with parchment, leaving a little overhang on the sides. Once cool, you can lift the whole slab out and slice easily.
- Double the recipe: These go fast—trust me. If you’re baking for a crowd, consider doubling the ingredients and using a 9×13-inch pan.
DETAILS:
- Prep Time: 15 minutes
- Cook Time: 40–45 minutes
- Total Time: 1 hour
- Yield: About 16 bars
- Category: Dessert
- Method: Baking
- Cuisine: American
- Diet: Vegetarian
NOTES:
You can store these bars at room temperature for a few days in an airtight container. For longer storage, keep them in the fridge or freeze them—just let them thaw before serving. They taste just as good (maybe even better) the next day.
NUTRITIONAL INFORMATION (Per Serving – approx.):
- Calories: 210
- Total Fat: 13g
- Saturated Fat: 4g
- Cholesterol: 30mg
- Sodium: 90mg
- Carbohydrates: 22g
- Sugar: 16g
- Protein: 2g
- Fiber: 1g
FREQUENTLY ASKED QUESTIONS:
Can I use a different nut besides pecans?
Absolutely! Walnuts or almonds work well here too. Just make sure they’re chopped to a similar size.
Do these bars need to be refrigerated?
Not necessarily, but they will last longer in the fridge—especially in warmer weather. Just bring them to room temperature before serving for the best texture.
Can I make these ahead of time?
Yes! These bars are a great make-ahead dessert. In fact, they often taste even better the next day once the flavors have had time to settle.
Can I freeze caramel pecan dream bars?
Definitely. Just wrap them tightly in plastic wrap and store in an airtight container. They’ll keep in the freezer for up to 2 months.
STORAGE INSTRUCTIONS:
- Room temperature: Up to 3 days in an airtight container.
- Refrigerator: Up to 1 week.
- Freezer: Up to 2 months—wrap individually for easy snacking.
Related Recipes
If you liked this recipe, you’ll definitely enjoy these other cheesy delights:
- No-Bake Lemon Blueberry Dessert
- Peaches and Cream Crumble Bars
- White German Chocolate Cake with a Cheesecake Center
- Decadent Belgian Chocolate Cake
- Pineapple Heaven Cake
Conclusion
There’s something timeless and soul-warming about a dessert like Caramel Pecan Dream Bars. With their rich layers and gooey goodness, they’re more than just a sweet treat—they’re a little slice of nostalgia, a reminder of shared moments and cozy afternoons. Whether you’re whipping these up for a bake sale or just because your afternoon could use a little brightness, one thing’s for sure—these bars live up to their dreamy name. Give them a try, and don’t be surprised if they become a new favorite in your home.
Print
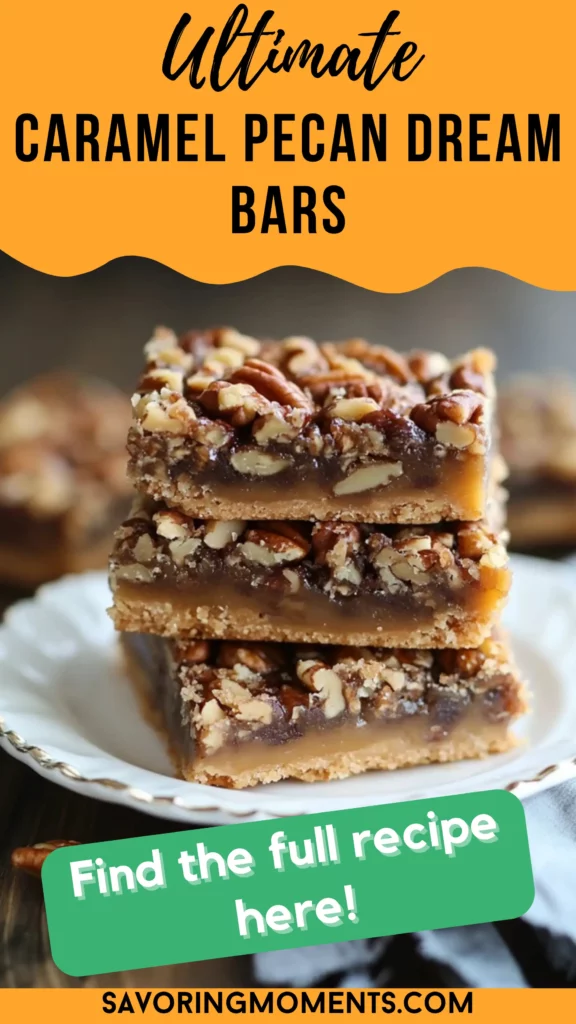
Caramel Pecan Dream Bars
Description
There’s something undeniably comforting about a dessert bar. Maybe it’s the perfect balance of chewy, crunchy, and sweet in every bite. Or maybe it’s the nostalgia that clings to them—reminiscent of family potlucks, school bake sales, and holiday trays passed around a crowded table. These Caramel Pecan Dream Bars are no exception. In fact, they may be the most comforting of them all.
I remember the first time I tasted something like this—my aunt had brought a tray of them to Thanksgiving dinner, and I nearly forgot about the pumpkin pie. They were warm from the oven, the caramel bubbling gently around toasty pecans, all on top of a soft, buttery crust. It was magic. The kind of dessert that makes people pause mid-sentence to say, “What is this and can I have the recipe?”
These bars have a way of making ordinary days feel a little more special. They’re simple enough for a weekday bake, but decadent enough for celebrations. The richness of the caramel combined with the nutty crunch of pecans creates an irresistible texture, while the soft shortbread base keeps it all grounded. It’s a dessert that doesn’t try too hard, yet always impresses.
Ingredients
For the crust:
1 cup all-purpose flour
1/2 cup butter, softened
1/4 cup brown sugar
For the topping:
2 large eggs
3/4 cup brown sugar
1/2 teaspoon vanilla extract
2 tablespoons all-purpose flour
1/2 teaspoon baking powder
1/4 teaspoon salt
1 cup chopped pecans
Instructions
Step 1: Preheat and prep
Start by preheating your oven to 350°F (175°C). Lightly grease a 9×9-inch baking dish or line it with parchment paper for easier removal later.
Step 2: Make the crust
In a medium bowl, combine the flour, softened butter, and brown sugar. Mix until the mixture resembles coarse crumbs. You can use a pastry cutter or just your hands—this part is wonderfully tactile, like working with soft, sugary sand.
Press the mixture evenly into the bottom of the prepared pan, pressing down firmly to create a solid base. Bake for 12–15 minutes, or until it just starts to turn golden. This gives it that beautiful shortbread texture.
Step 3: Prepare the topping
While the crust is baking, whisk the eggs in a medium bowl. Add the brown sugar and vanilla, stirring until smooth. Sprinkle in the flour, baking powder, and salt, and whisk until fully incorporated.
Fold in the chopped pecans—this is where the magic happens. The mixture will look like a thick, gooey caramel dream.
Step 4: Layer and bake again
Once the crust is ready, take it out of the oven (but leave the oven on). Pour the pecan mixture evenly over the warm crust, smoothing it out with a spatula.
Pop it back into the oven and bake for another 25–30 minutes, or until the topping is golden brown and set in the center.
Step 5: Cool and slice
Let the bars cool completely in the pan—this is the hardest part, but it’s worth the wait. Once cool, slice into bars or squares. You’ll get clean, beautiful edges and a perfectly chewy texture.
Notes
You can store these bars at room temperature for a few days in an airtight container. For longer storage, keep them in the fridge or freeze them—just let them thaw before serving. They taste just as good (maybe even better) the next day.