There’s something truly magical about desserts that remind us of childhood—where each bite brings a little joy and a dash of nostalgia. Cream Puff Cake is exactly one of those desserts. If you’ve ever stood in a kitchen, watching someone pipe out little golden cream puffs or had the joy of biting into one at a celebration, you’ll understand why this cake feels so special.

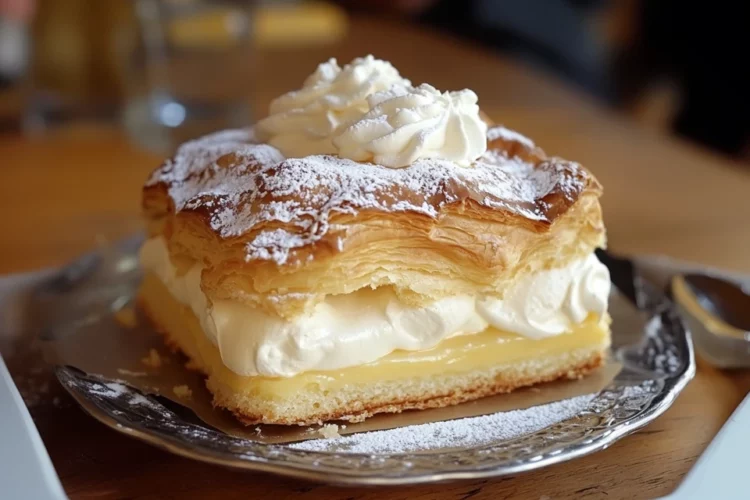
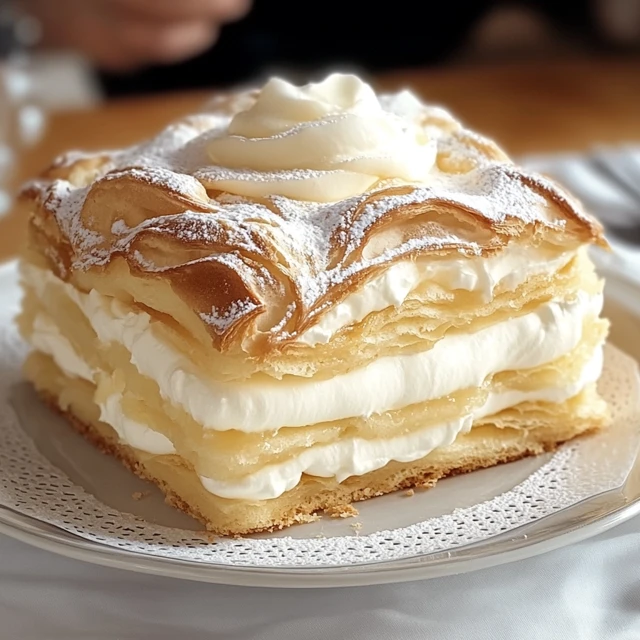
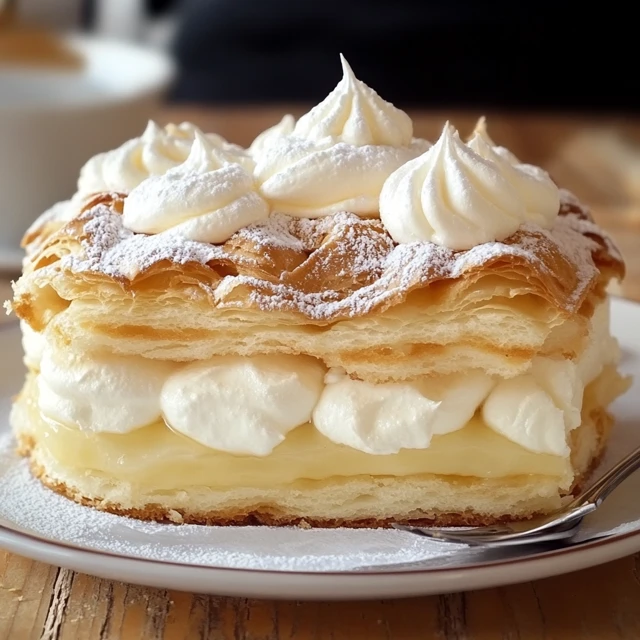
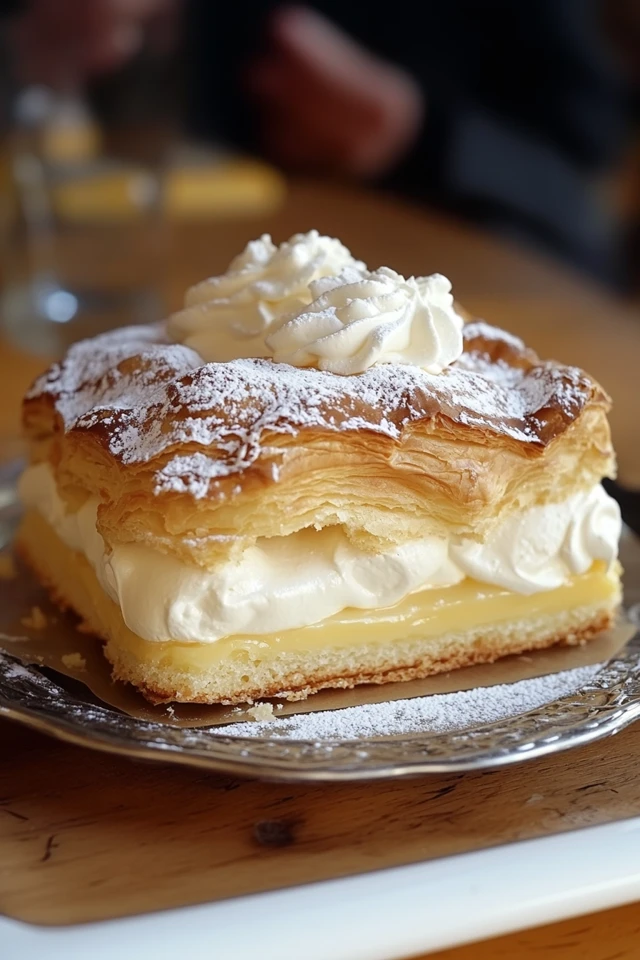
This isn’t just any cake—it’s the lovechild of an elegant French pastry and a homey sheet cake. A whimsical mix of textures and flavors, it layers the tender crispiness of choux pastry with the dreamy smoothness of vanilla pudding and a fluffy whipped topping. It’s a showstopper, but without the fuss.
Traditionally, cream puffs (or choux à la crème) are delicately piped, baked, and then filled. But this version skips the stress and serves it up in a simplified, sliceable form. Perfect for gatherings, special birthdays, or just a Saturday when you’re craving something comforting yet impressive.
In my house, this dessert shows up around springtime—when the days are getting warmer and we want something light but indulgent. It’s also a great make-ahead treat for family get-togethers because it actually tastes better once it’s chilled and set. Whether you’re a seasoned baker or someone just getting their feet wet, this Cream Puff Cake recipe will win you over from the very first spoonful.
Why You’ll Love This Recipe:
- Easy to Make: No fancy piping bags or tricky pastry skills required.
- Dreamy Texture: Light, fluffy, creamy, and just the right amount of richness.
- Make-Ahead Friendly: Perfect for prepping the day before an event.
- Crowd-Pleaser: Always gets rave reviews at potlucks, showers, or dinner parties.
- Elegant Without the Effort: It looks impressive but is surprisingly simple.
INGREDIENTS YOU’LL NEED:
For the crust:
- ½ cup (1 stick) unsalted butter
- 1 cup water
- 1 cup all-purpose flour
- 4 large eggs
For the filling:
- 1 (8-ounce) package cream cheese, softened
- 2 (3.4-ounce) packages instant vanilla pudding mix
- 3 cups cold milk
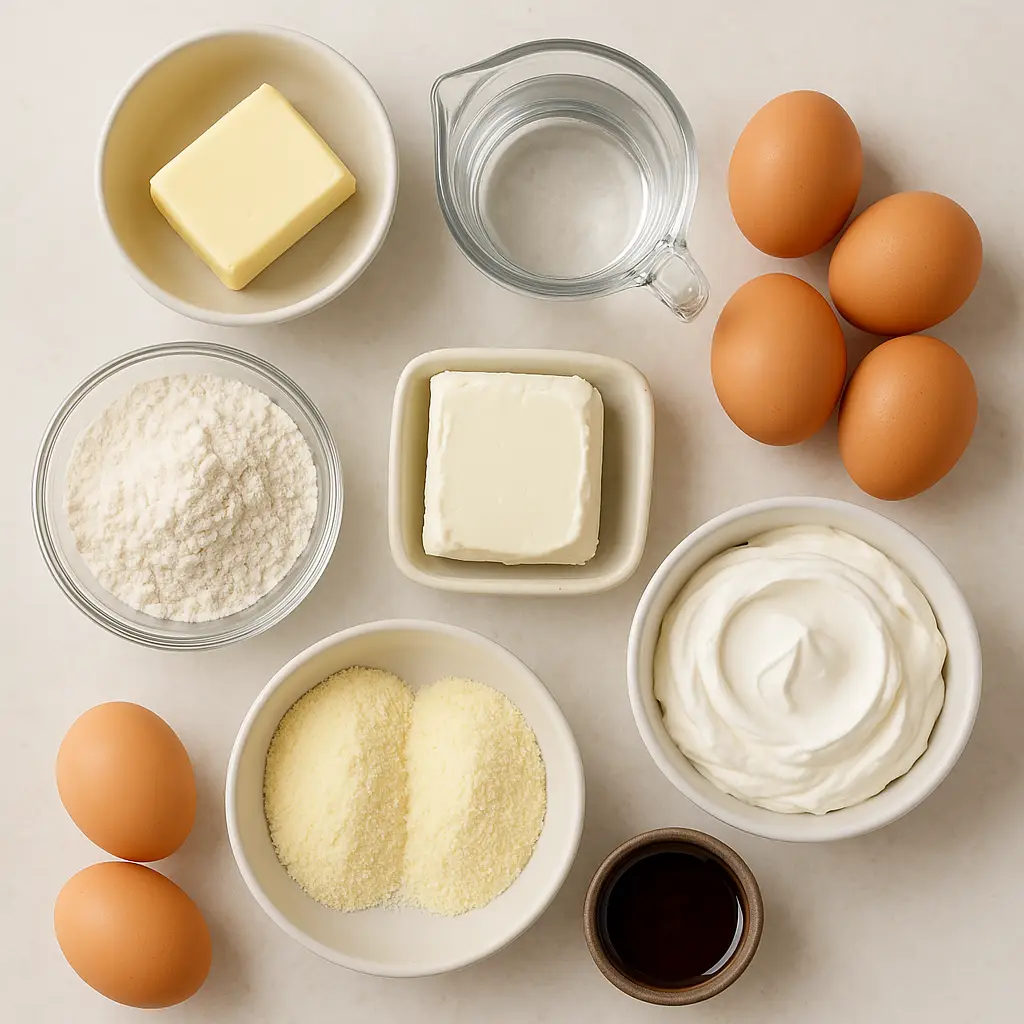
Topping:
- 1 (8-ounce) container whipped topping (like Cool Whip)
- Chocolate syrup, for drizzling (optional)
HOW TO MAKE CREAM PUFF CAKE:
STEP-BY-STEP INSTRUCTIONS:
Step 1: Make the Choux Crust
Start by preheating your oven to 400°F (200°C). Grease a 9×13-inch baking dish and set it aside. In a medium saucepan over medium heat, combine the butter and water. Let the butter melt completely, then bring the mixture to a boil.
Now for the fun part—turn off the heat and quickly stir in the flour all at once. It’ll look like a lumpy mess at first, but keep stirring! The dough will come together into a ball and pull away from the sides of the pan.
Let it cool for about 5 minutes—just enough so you don’t scramble your eggs. Then beat in the eggs one at a time, mixing well after each one. The batter will turn thick, glossy, and smooth. Spread it evenly in your greased dish and bake for 25-30 minutes, or until puffed and golden brown. Let it cool completely—this is your cake base.
Step 2: Prepare the Filling
In a mixing bowl, beat the softened cream cheese until smooth. This step is key—if your cream cheese is too cold, it won’t blend well. In another bowl, whisk together the pudding mixes and cold milk until thickened, about 2-3 minutes. Then slowly add the pudding mixture to the cream cheese, beating until the mixture is silky and lump-free.
Once your puff crust has cooled, spread this creamy pudding filling over the top.
Step 3: Add the Whipped Topping
Top the pudding layer with a generous cloud of whipped topping. Smooth it out, then drizzle with chocolate syrup if you’d like to add a little flair. (Pro tip: you can also shave a little chocolate on top for an extra fancy finish!)
Step 4: Chill and Serve
Pop your cake into the refrigerator for at least 1–2 hours before serving. This gives all the layers time to set and the flavors to meld together beautifully. Serve chilled, cut into generous squares, and watch it disappear.
HELPFUL TIPS:
- Make sure your cream cheese is room temperature for a smooth filling.
- Let the puff pastry base cool completely before adding the filling to avoid melting.
- You can swap the vanilla pudding for chocolate or even banana pudding for a fun twist.
- Want to make it extra special? Add a layer of sliced strawberries or bananas between the pudding and whipped topping.
DETAILS:
- Prep Time: 20 minutes
- Cook Time: 30 minutes
- Total Time: 2 hours (including chill time)
- Yield: 12 servings
- Category: Dessert
- Method: Baking
- Cuisine: American, French-inspired
- Diet: Vegetarian
NOTES:
- This dessert is best served chilled but keeps well for a couple of days.
- Great for making ahead before parties or holidays.
- You can use homemade whipped cream if you prefer—just make sure it’s whipped to stiff peaks.

NUTRITIONAL INFORMATION: (Estimated per serving)
- Calories: 310
- Fat: 19g
- Carbohydrates: 30g
- Protein: 5g
- Sugar: 18g
- Fiber: 0g
FREQUENTLY ASKED QUESTIONS:
Can I make this a day ahead?
Absolutely! In fact, it’s even better the next day once it’s had time to chill and set.
Can I freeze Cream Puff Cake?
You can freeze it, but the texture might change slightly. For best results, enjoy it fresh or refrigerated.
What other toppings can I use?
Fresh berries, crushed nuts, or a dusting of cocoa powder all work beautifully.
Can I use homemade pudding?
Yes, you can use homemade pudding if you prefer—it just adds a little more prep time.
STORAGE INSTRUCTIONS:
Store leftovers covered in the fridge for up to 3 days. It’s best enjoyed cold, straight from the fridge. Avoid freezing for best texture.
Related Recipes
If you liked this recipe, you’ll definitely enjoy these other creamy delights:
- Ooey Gooey Cinnamon Roll Cake
- Dutch Baby with Maple Whipped Cream
- S’mores Brownies
- Banana Upside Down Cake
CONCLUSION
Cream Puff Cake is one of those desserts that feels both nostalgic and a little fancy. It’s the kind of recipe that gets passed around at family gatherings, written down on well-loved index cards, and asked about every time it’s served. With its light choux base, creamy filling, and airy topping, it’s a treat that satisfies every time. Whether you’re hosting a spring brunch, planning a potluck dessert, or just craving a little sweet magic at home—this cake brings the joy.
Print
Cream Puff Cake
Description
There’s something truly magical about desserts that remind us of childhood—where each bite brings a little joy and a dash of nostalgia. Cream Puff Cake is exactly one of those desserts. If you’ve ever stood in a kitchen, watching someone pipe out little golden cream puffs or had the joy of biting into one at a celebration, you’ll understand why this cake feels so special.
This isn’t just any cake—it’s the lovechild of an elegant French pastry and a homey sheet cake. A whimsical mix of textures and flavors, it layers the tender crispiness of choux pastry with the dreamy smoothness of vanilla pudding and a fluffy whipped topping. It’s a showstopper, but without the fuss.
Traditionally, cream puffs (or choux à la crème) are delicately piped, baked, and then filled. But this version skips the stress and serves it up in a simplified, sliceable form. Perfect for gatherings, special birthdays, or just a Saturday when you’re craving something comforting yet impressive.
In my house, this dessert shows up around springtime—when the days are getting warmer and we want something light but indulgent. It’s also a great make-ahead treat for family get-togethers because it actually tastes better once it’s chilled and set. Whether you’re a seasoned baker or someone just getting their feet wet, this Cream Puff Cake recipe will win you over from the very first spoonful.
Ingredients
For the crust:
½ cup (1 stick) unsalted butter
1 cup water
1 cup all-purpose flour
4 large eggs
For the filling:
1 (8-ounce) package cream cheese, softened
2 (3.4-ounce) packages instant vanilla pudding mi
3 cups cold milk
Topping:
1 (8-ounce) container whipped topping (like Cool Whip)
Chocolate syrup, for drizzling (optional)
Instructions
Step 1: Make the Choux Crust
Start by preheating your oven to 400°F (200°C). Grease a 9×13-inch baking dish and set it aside. In a medium saucepan over medium heat, combine the butter and water. Let the butter melt completely, then bring the mixture to a boil.
Now for the fun part—turn off the heat and quickly stir in the flour all at once. It’ll look like a lumpy mess at first, but keep stirring! The dough will come together into a ball and pull away from the sides of the pan.
Let it cool for about 5 minutes—just enough so you don’t scramble your eggs. Then beat in the eggs one at a time, mixing well after each one. The batter will turn thick, glossy, and smooth. Spread it evenly in your greased dish and bake for 25-30 minutes, or until puffed and golden brown. Let it cool completely—this is your cake base.
Step 2: Prepare the Filling
In a mixing bowl, beat the softened cream cheese until smooth. This step is key—if your cream cheese is too cold, it won’t blend well. In another bowl, whisk together the pudding mixes and cold milk until thickened, about 2-3 minutes. Then slowly add the pudding mixture to the cream cheese, beating until the mixture is silky and lump-free.
Once your puff crust has cooled, spread this creamy pudding filling over the top.
Step 3: Add the Whipped Topping
Top the pudding layer with a generous cloud of whipped topping. Smooth it out, then drizzle with chocolate syrup if you’d like to add a little flair. (Pro tip: you can also shave a little chocolate on top for an extra fancy finish!)
Step 4: Chill and Serve
Pop your cake into the refrigerator for at least 1–2 hours before serving. This gives all the layers time to set and the flavors to meld together beautifully. Serve chilled, cut into generous squares, and watch it disappear.
Notes
-
This dessert is best served chilled but keeps well for a couple of days.
-
Great for making ahead before parties or holidays.
-
You can use homemade whipped cream if you prefer—just make sure it’s whipped to stiff peaks.