
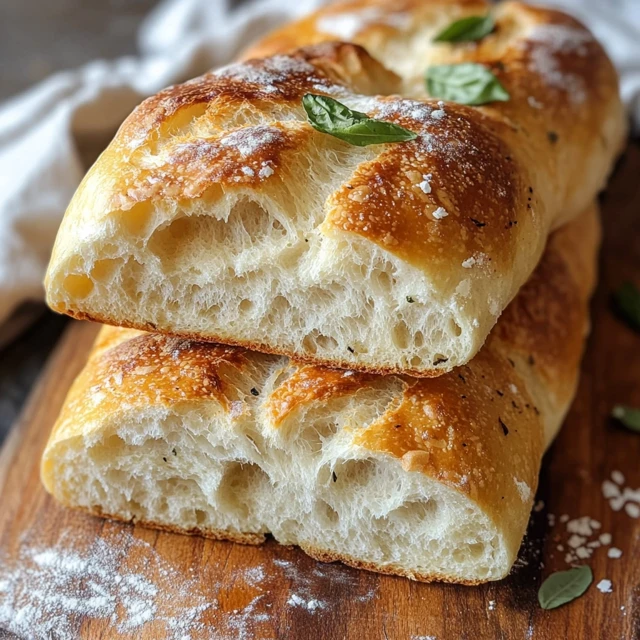
There’s something timeless about the smell of freshly baked crusty Italian bread wafting through the kitchen. For me, it brings back memories of Sundays at my grandmother’s house, where loaves of golden, crackling bread sat proudly on the table next to hearty bowls of pasta and simmering pots of sauce. This bread wasn’t just a side dish — it was the heart of the meal. Tearing into that crisp crust, hearing the satisfying crunch, and savoring the soft, airy crumb inside was pure magic.

Across Italy, crusty bread is a staple that has fed generations. Whether dipped in olive oil, slathered with fresh butter, or simply enjoyed plain, it’s a symbol of comfort and tradition. Making it at home connects you to that old-world rhythm, filling your home with warmth and delicious aromas. Let me guide you through this classic recipe so you can bring a bit of that Italian coziness into your own kitchen.
Why You’ll Love This Crusty Italian Bread Recipe
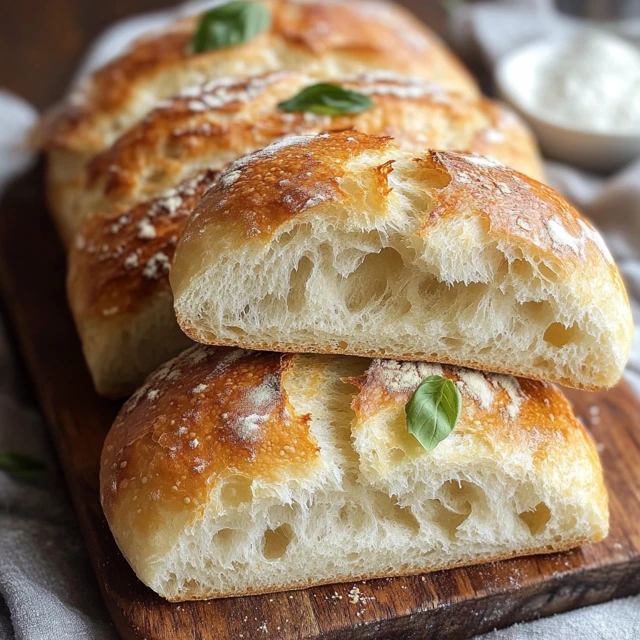
This crusty Italian bread recipe is surprisingly simple yet yields bakery-quality results. You’ll love the crackling golden crust, the soft interior, and the incredible smell as it bakes. Even beginners can tackle this recipe with confidence, thanks to straightforward steps and everyday ingredients. It’s perfect for family dinners, holiday feasts, or just because you want fresh bread on the table.
INGREDIENTS YOU’LL NEED:
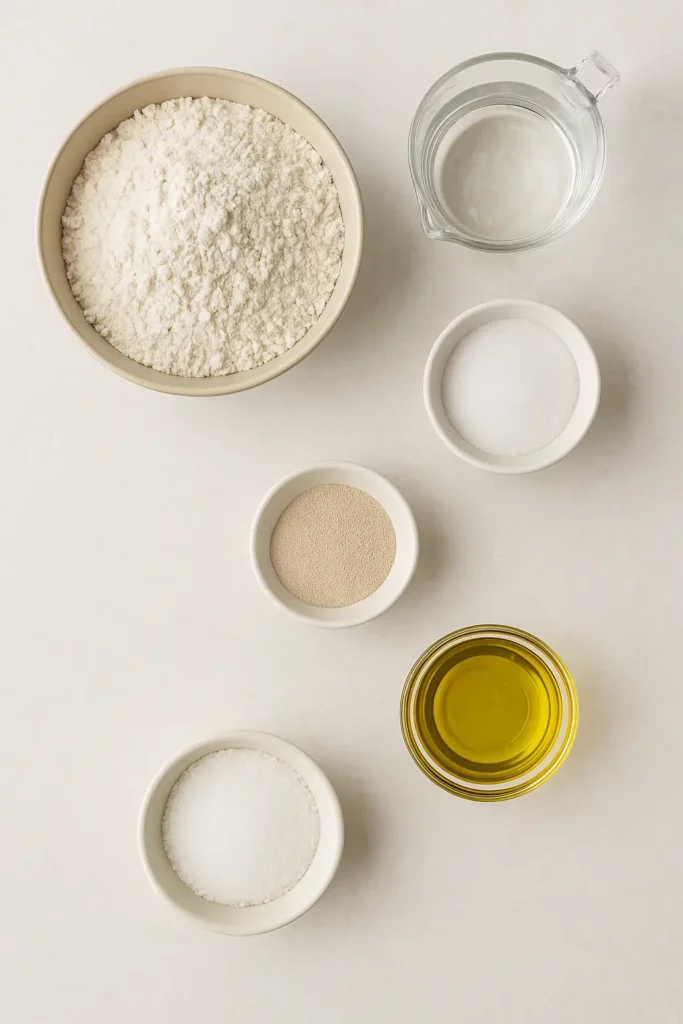
- 4 cups bread flour
- 1 ⅓ cups warm water (about 110°F)
- 2 teaspoons sugar
- 2 teaspoons salt
- 2 ¼ teaspoons active dry yeast
- 1 tablespoon olive oil
How to Make Crusty Italian Bread
Baking homemade crusty Italian bread isn’t just about following steps — it’s about enjoying the process. Picture yourself shaping dough on a floured counter, the sunlight streaming through the window, and the promise of a golden loaf waiting at the end.
Step-by-Step Instructions
Step 1: Activate the Yeast
In a small bowl, combine the warm water, sugar, and yeast. Stir gently and let it sit for 5–10 minutes until it becomes frothy. This tells you the yeast is alive and ready to work its magic.
Step 2: Make the Dough
In a large bowl, mix the flour and salt. Add the yeast mixture and olive oil, stirring with a wooden spoon until a dough forms. It will be a bit shaggy at first — that’s normal.
Step 3: Knead the Dough
Turn the dough onto a floured surface and knead for about 8–10 minutes. Use the heel of your hand to push, fold, and turn. The dough should become smooth and elastic, a bit tacky but not sticky.

Step 4: Let It Rise
Place the dough in a lightly oiled bowl, cover with a damp cloth, and let it rise in a warm place for about 1–1.5 hours, or until doubled in size. I like to peek under the cloth and see the dough puff up — it’s a little moment of joy.
Step 5: Shape and Second Rise
Punch down the dough gently and shape it into a round or oval loaf. Place it on a parchment-lined baking sheet. Cover with a towel and let it rise again for 30–40 minutes.
Step 6: Bake to Perfection
Preheat your oven to 425°F (220°C). For an extra-crusty result, place a pan of water on the lower oven rack to create steam. Bake the loaf for 25–30 minutes, until the crust is deep golden and the loaf sounds hollow when tapped on the bottom.
Helpful Tips
- Use bread flour for the best chewy texture and structure.
- If you want a rustic look, dust the loaf lightly with flour before baking.
- Don’t skip the steam in the oven — it’s the secret to that signature crunchy crust.
- Let the bread cool on a wire rack to avoid a soggy bottom.
Details
Prep Time: 20 minutes
Cook Time: 30 minutes
Total Time: 2.5 hours (including rising)
Yield: 1 large loaf
Category: Bread
Method: Baking
Cuisine: Italian
Diet: Vegetarian
Notes
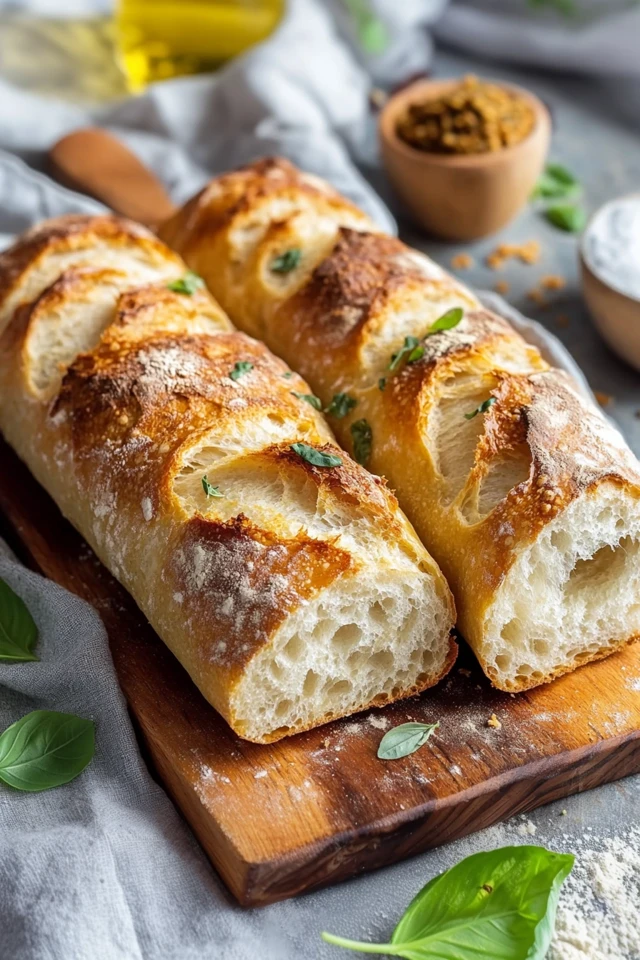
Feel free to shape the dough into rolls or baguettes for variety. This dough also freezes well after the first rise — just thaw, shape, and bake when ready.

Nutritional Information (Per Slice)
- Calories: 150
- Carbohydrates: 28g
- Protein: 4g
- Fat: 2g
- Fiber: 1g
- Sodium: 240mg
Frequently Asked Questions
Can I make this bread without a stand mixer?
Absolutely! This dough is easy to knead by hand and only takes about 8–10 minutes.
Can I freeze the baked loaf?
Yes, wrap it tightly in plastic wrap and freeze for up to 3 months. Reheat in the oven for the best texture.
Why is my crust not crispy?
Make sure you include steam in the oven and let the bread cool completely on a wire rack.
Storage Instructions
Store the crusty Italian bread at room temperature in a paper bag for up to 2 days. For longer storage, wrap it well and freeze. To refresh the crust, warm the loaf in a 350°F oven for 10 minutes.
Related Recipes
If you liked this recipe, you’ll definitely enjoy these other cheesy delights:
- Garlic Bread with Sliced Bread
- Cheesy Pull-Apart Garlic Bread
- Olive Cheese Bread
- Cheesy Garlic Pull-Apart Bread
Conclusion
Making crusty Italian bread at home is more than just baking — it’s about reviving old traditions, filling your home with irresistible smells, and creating something truly special from simple ingredients. Whether you serve it alongside a family meal or enjoy it with a bit of olive oil and salt, this bread is sure to become a favorite in your kitchen.
Print
Crusty Italian Bread
Description
There’s something timeless about the smell of freshly baked crusty Italian bread wafting through the kitchen. For me, it brings back memories of Sundays at my grandmother’s house, where loaves of golden, crackling bread sat proudly on the table next to hearty bowls of pasta and simmering pots of sauce. This bread wasn’t just a side dish — it was the heart of the meal. Tearing into that crisp crust, hearing the satisfying crunch, and savoring the soft, airy crumb inside was pure magic.
Across Italy, crusty bread is a staple that has fed generations. Whether dipped in olive oil, slathered with fresh butter, or simply enjoyed plain, it’s a symbol of comfort and tradition. Making it at home connects you to that old-world rhythm, filling your home with warmth and delicious aromas. Let me guide you through this classic recipe so you can bring a bit of that Italian coziness into your own kitchen.
Ingredients
4 cups bread flour
1 ⅓ cups warm water (about 110°F)
2 teaspoons sugar
2 teaspoons salt
2 ¼ teaspoons active dry yeast
1 tablespoon olive oil
Instructions
Step 1: Activate the Yeast
In a small bowl, combine the warm water, sugar, and yeast. Stir gently and let it sit for 5–10 minutes until it becomes frothy. This tells you the yeast is alive and ready to work its magic.
Step 2: Make the Dough
In a large bowl, mix the flour and salt. Add the yeast mixture and olive oil, stirring with a wooden spoon until a dough forms. It will be a bit shaggy at first — that’s normal.
Step 3: Knead the Dough
Turn the dough onto a floured surface and knead for about 8–10 minutes. Use the heel of your hand to push, fold, and turn. The dough should become smooth and elastic, a bit tacky but not sticky.
Step 4: Let It Rise
Place the dough in a lightly oiled bowl, cover with a damp cloth, and let it rise in a warm place for about 1–1.5 hours, or until doubled in size. I like to peek under the cloth and see the dough puff up — it’s a little moment of joy.
Step 5: Shape and Second Rise
Punch down the dough gently and shape it into a round or oval loaf. Place it on a parchment-lined baking sheet. Cover with a towel and let it rise again for 30–40 minutes.
Step 6: Bake to Perfection
Preheat your oven to 425°F (220°C). For an extra-crusty result, place a pan of water on the lower oven rack to create steam. Bake the loaf for 25–30 minutes, until the crust is deep golden and the loaf sounds hollow when tapped on the bottom.
Notes
Feel free to shape the dough into rolls or baguettes for variety. This dough also freezes well after the first rise — just thaw, shape, and bake when ready.