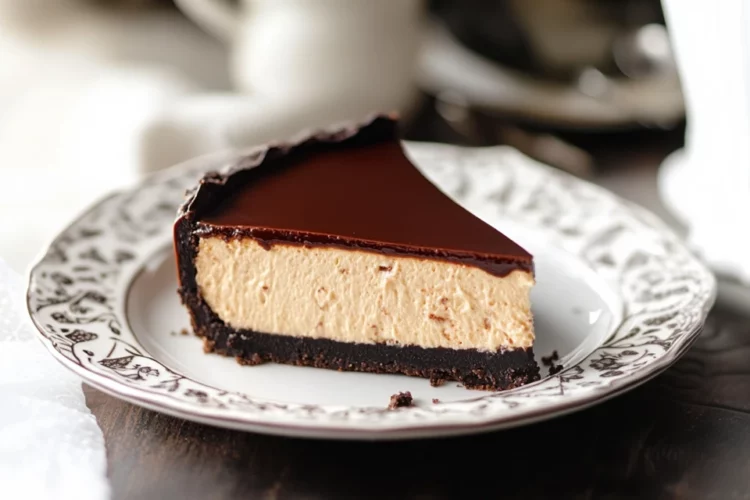
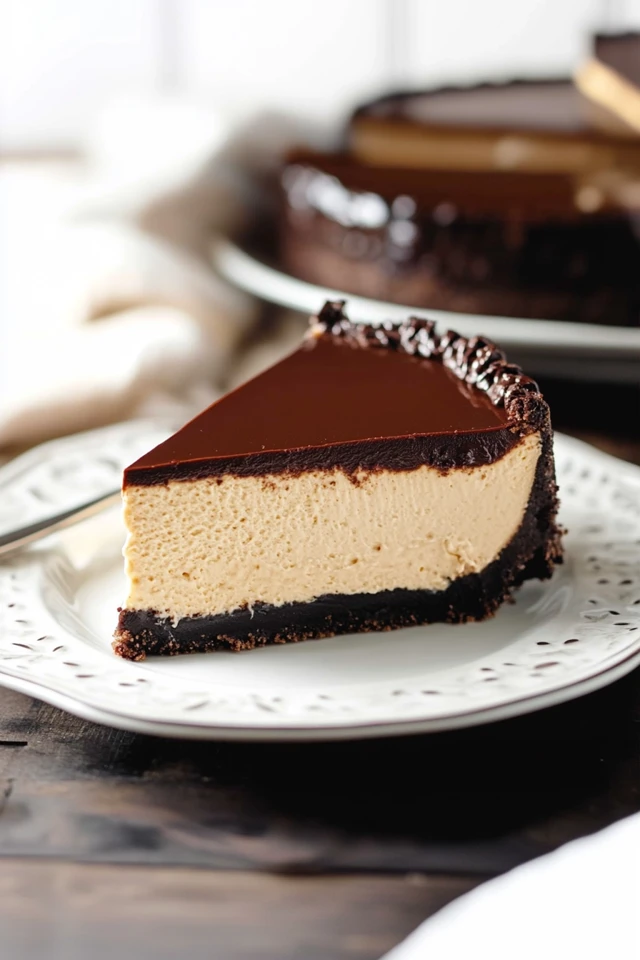
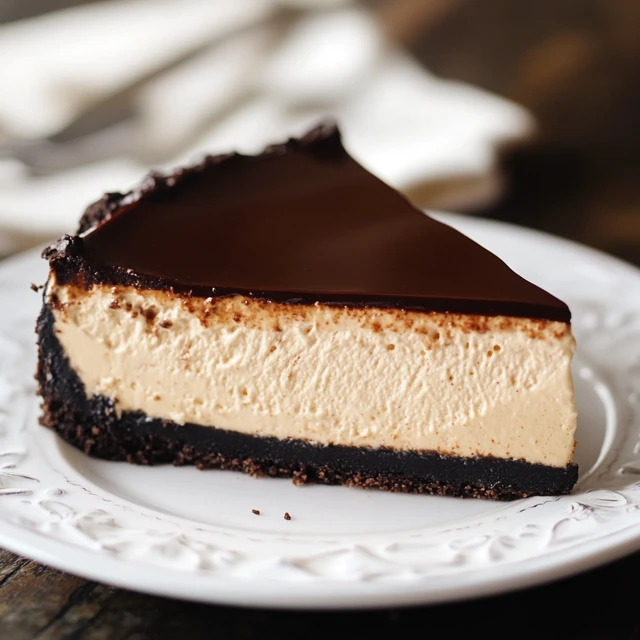
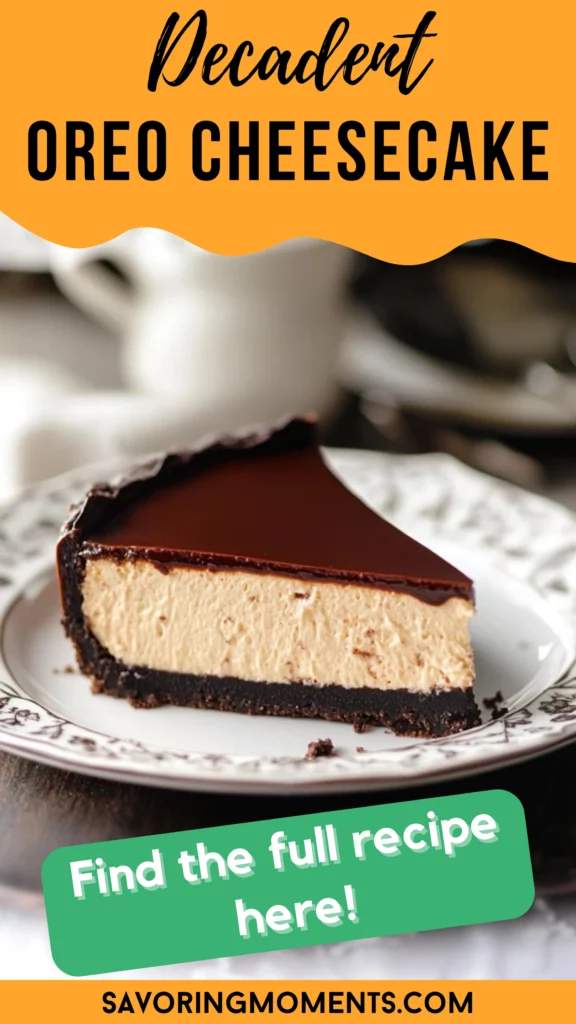
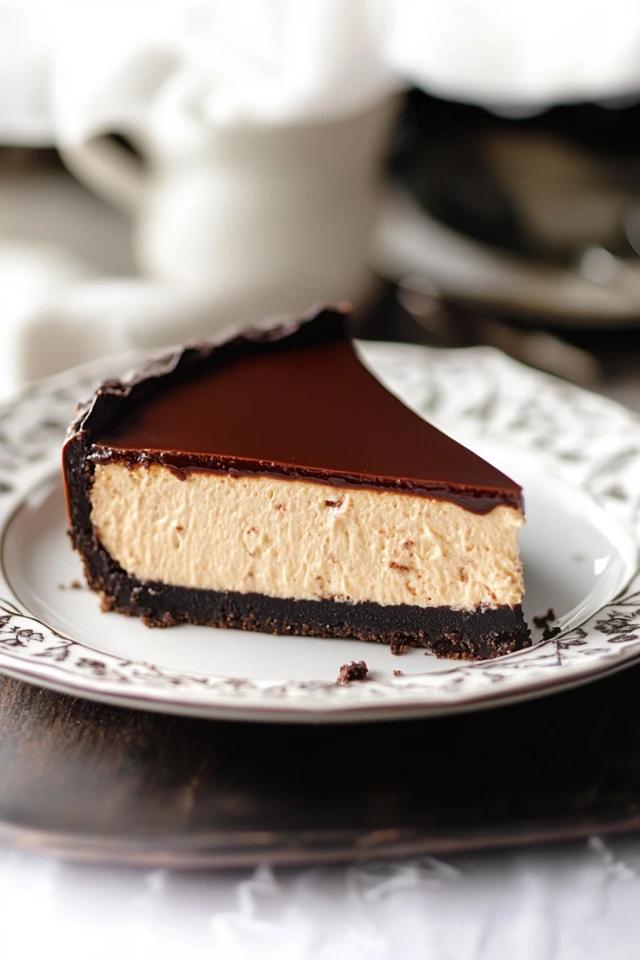
There’s something undeniably comforting about a slice of cheesecake. Whether it’s a birthday celebration, a holiday dessert, or a weekend indulgence, cheesecake has a way of making any occasion feel extra special. This Oreo Cheesecake is everything a cheesecake should be—ultra-creamy, rich, and packed with chocolatey goodness. The combination of a crisp Oreo crust and a silky smooth cheesecake filling makes it a true showstopper.
This recipe is perfect for both novice bakers and seasoned dessert lovers. The best part? You don’t need any fancy techniques—just simple ingredients, patience, and a love for all things chocolate! Whether you’re making this for a dinner party or just because you deserve a treat, this Oreo Cheesecake will not disappoint.
Why You’ll Love This Recipe
- Rich & Creamy Texture – Every bite melts in your mouth with a perfect balance of smooth cheesecake and crunchy Oreo crust.
- Easy to Make – No complicated steps or special equipment needed, just a little patience for baking and chilling.
- Crowd-Pleasing Dessert – Ideal for parties, holidays, or simply satisfying your sweet tooth.
- Make-Ahead Friendly – Cheesecake tastes even better after chilling overnight, making it a great prep-ahead dessert.
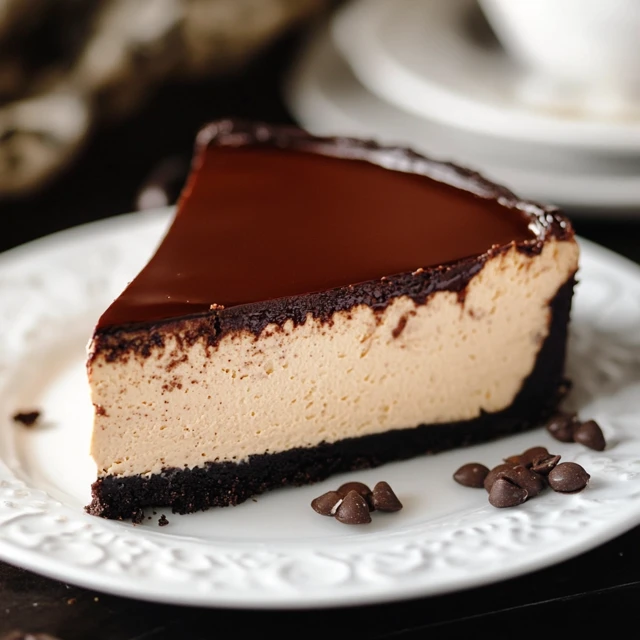
Ingredients You’ll Need
For the Oreo Crust:
- 24 Oreo cookies (with filling)
- 5 tablespoons unsalted butter, melted
For the Cheesecake Filling:
- 24 ounces (3 blocks) cream cheese, softened
- 1 cup granulated sugar
- 1 cup sour cream
- 3 large eggs
- 2 teaspoons vanilla extract
- 1/3 cup heavy cream
- 10 Oreo cookies, chopped
For the Topping (Optional but Recommended):
- 1 cup heavy cream
- 2 tablespoons powdered sugar
- ½ teaspoon vanilla extract
- Extra Oreo cookies for garnish
How to Make Oreo Cheesecake
Step 1: Prepare the Oreo Crust
Start by preheating your oven to 325°F (163°C). Line the bottom of a 9-inch springform pan with parchment paper.
Crush the Oreos (filling included) into fine crumbs using a food processor or by placing them in a zip-top bag and crushing them with a rolling pin. Transfer the crumbs to a mixing bowl, add the melted butter, and stir until combined.
Press the mixture firmly into the bottom of the prepared pan, creating an even crust. Bake for 8-10 minutes, then remove from the oven and let it cool while you prepare the filling.
Step 2: Make the Cheesecake Batter
In a large bowl, beat the softened cream cheese until smooth and creamy. Gradually add in the sugar, mixing until well incorporated. Scrape down the sides of the bowl to ensure a smooth consistency.
Next, mix in the sour cream and vanilla extract, blending until fully combined. Add the eggs one at a time, mixing on low speed to prevent too much air from getting into the batter (this helps avoid cracks in the cheesecake). Finally, stir in the heavy cream for extra silkiness.
Gently fold in the chopped Oreo pieces, ensuring they are evenly distributed throughout the batter.
Step 3: Bake the Cheesecake
Pour the cheesecake filling over the cooled crust and smooth the top with a spatula. To prevent cracks and ensure even baking, place the springform pan in a large roasting pan and fill the pan with hot water until it reaches about halfway up the sides of the cheesecake pan (this is called a water bath).
Bake for about 55-65 minutes. The cheesecake should be set around the edges but still slightly wobbly in the center. Turn off the oven and leave the cheesecake inside with the oven door slightly ajar for about an hour. This slow cooling process helps prevent cracks.
Step 4: Chill and Set
Once the cheesecake has cooled to room temperature, cover it with plastic wrap and refrigerate for at least 6 hours or overnight. Chilling allows the flavors to develop and the texture to firm up.
Step 5: Add the Whipped Cream Topping (Optional)
Before serving, whip the heavy cream, powdered sugar, and vanilla extract together until stiff peaks form. Pipe or spread the whipped cream over the cheesecake and garnish with extra Oreo cookies for a beautiful finishing touch.
Helpful Tips for Perfect Cheesecake
- Use Room Temperature Ingredients – This ensures a smooth, lump-free batter. Cold cream cheese can lead to a chunky texture.
- Avoid Overmixing – Mixing too much can incorporate excess air, leading to cracks in the cheesecake.
- Water Bath is Key – It keeps the baking environment moist, preventing cracks and ensuring a creamy texture.
- Cool Gradually – Letting the cheesecake cool in the oven before chilling helps prevent cracks and sinking.
- Chill Overnight for Best Results – The flavors deepen and the texture sets perfectly after at least 6 hours in the fridge.
Recipe Details
- Prep Time: 20 minutes
- Cook Time: 1 hour
- Chill Time: 6+ hours
- Total Time: 7+ hours
- Yield: 12 servings
- Category: Dessert
- Method: Baking
- Cuisine: American
- Diet: Vegetarian
Notes
- Use Full-Fat Ingredients – For the creamiest and most decadent cheesecake, always use full-fat cream cheese and sour cream. Low-fat alternatives may result in a runnier texture.
- Don’t Rush the Chilling Process – Cheesecake needs ample time to set in the fridge. Letting it chill overnight ensures the best texture and flavor.
- Springform Pan is a Must – A springform pan allows for easy removal without damaging the cheesecake. If you don’t have one, use a deep pie dish, but note that serving might be trickier.
- Lining the Pan Helps – For easy removal, line the bottom of your springform pan with parchment paper before adding the crust.
- Cutting Clean Slices – Dip a sharp knife in warm water and wipe it clean between cuts to get picture-perfect cheesecake slices.
- Customizing the Topping – Instead of whipped cream, try a drizzle of melted chocolate or a dusting of cocoa powder for an extra fancy touch.
- Making It Gluten-Free – Use gluten-free chocolate sandwich cookies instead of regular Oreos for a gluten-free version of this cheesecake.
- Cheesecake Tastes Better the Next Day – The flavors continue to develop after a full day in the fridge, making this the perfect make-ahead dessert!
Storage Instructions
Refrigeration:
Store the cheesecake covered in the refrigerator for up to 5 days. Keep it in an airtight container or wrap it tightly with plastic wrap to maintain freshness.
Freezing:
For longer storage, freeze the cheesecake (without the whipped topping) for up to 3 months. Wrap it in plastic wrap and aluminum foil before freezing. Thaw in the refrigerator overnight before serving.
Frequently Asked Questions
Can I Make This Cheesecake Without a Water Bath?
Yes, but the cheesecake may have a higher chance of cracking. If you skip the water bath, place a separate pan of hot water on the lower oven rack to create steam and help prevent cracks.
How Do I Know When My Cheesecake is Done?
The edges should be set, but the center should still have a slight jiggle when gently shaken. It will firm up as it cools.
Can I Use a Different Cookie for the Crust?
Absolutely! Graham crackers or chocolate wafer cookies work well if you prefer a different base.
What If My Cheesecake Cracks?
Don’t worry—cracks won’t affect the taste! You can easily cover them with whipped cream, ganache, or extra crushed Oreos.
Related Recipes
If you loved this Oreo Cheesecake, try these other delicious treats:
- Chewy and Fudgy Mochi Brownies
- Loaded Butterscotch Cheesecake
- Decadent Belgian Chocolate Cake
- Decadent Caramel Brownies
Conclusion
This Oreo Cheesecake is the ultimate indulgence for any dessert lover. With its crisp cookie crust, velvety smooth cheesecake filling, and delightful crunch of Oreos, it’s bound to become a favorite in your home. Whether you’re making it for a special occasion or just treating yourself, this cheesecake is pure bliss in every bite.
Print
Decadent Oreo Cheesecake – A Rich and Creamy Delight
Description
There’s something undeniably comforting about a slice of cheesecake. Whether it’s a birthday celebration, a holiday dessert, or a weekend indulgence, cheesecake has a way of making any occasion feel extra special. This Oreo Cheesecake is everything a cheesecake should be—ultra-creamy, rich, and packed with chocolatey goodness. The combination of a crisp Oreo crust and a silky smooth cheesecake filling makes it a true showstopper.
This recipe is perfect for both novice bakers and seasoned dessert lovers. The best part? You don’t need any fancy techniques—just simple ingredients, patience, and a love for all things chocolate! Whether you’re making this for a dinner party or just because you deserve a treat, this Oreo Cheesecake will not disappoint.
Ingredients
For the Oreo Crust:
- 24 Oreo cookies (with filling)
- 5 tablespoons unsalted butter, melted
For the Cheesecake Filling:
- 24 ounces (3 blocks) cream cheese, softened
- 1 cup granulated sugar
- 1 cup sour cream
- 3 large eggs
- 2 teaspoons vanilla extract
- 1/3 cup heavy cream
- 10 Oreo cookies, chopped
For the Topping (Optional but Recommended):
- 1 cup heavy cream
- 2 tablespoons powdered sugar
- ½ teaspoon vanilla extract
- Extra Oreo cookies for garnish
Instructions
Start by preheating your oven to 325°F (163°C). Line the bottom of a 9-inch springform pan with parchment paper.
Crush the Oreos (filling included) into fine crumbs using a food processor or by placing them in a zip-top bag and crushing them with a rolling pin. Transfer the crumbs to a mixing bowl, add the melted butter, and stir until combined.
Press the mixture firmly into the bottom of the prepared pan, creating an even crust. Bake for 8-10 minutes, then remove from the oven and let it cool while you prepare the filling.
In a large bowl, beat the softened cream cheese until smooth and creamy. Gradually add in the sugar, mixing until well incorporated. Scrape down the sides of the bowl to ensure a smooth consistency.
Next, mix in the sour cream and vanilla extract, blending until fully combined. Add the eggs one at a time, mixing on low speed to prevent too much air from getting into the batter (this helps avoid cracks in the cheesecake). Finally, stir in the heavy cream for extra silkiness.
Gently fold in the chopped Oreo pieces, ensuring they are evenly distributed throughout the batter.
Pour the cheesecake filling over the cooled crust and smooth the top with a spatula. To prevent cracks and ensure even baking, place the springform pan in a large roasting pan and fill the pan with hot water until it reaches about halfway up the sides of the cheesecake pan (this is called a water bath).
Bake for about 55-65 minutes. The cheesecake should be set around the edges but still slightly wobbly in the center. Turn off the oven and leave the cheesecake inside with the oven door slightly ajar for about an hour. This slow cooling process helps prevent cracks.
Once the cheesecake has cooled to room temperature, cover it with plastic wrap and refrigerate for at least 6 hours or overnight. Chilling allows the flavors to develop and the texture to firm up.
Before serving, whip the heavy cream, powdered sugar, and vanilla extract together until stiff peaks form. Pipe or spread the whipped cream over the cheesecake and garnish with extra Oreo cookies for a beautiful finishing touch.
Notes
- Use Full-Fat Ingredients – For the creamiest and most decadent cheesecake, always use full-fat cream cheese and sour cream. Low-fat alternatives may result in a runnier texture.
- Don’t Rush the Chilling Process – Cheesecake needs ample time to set in the fridge. Letting it chill overnight ensures the best texture and flavor.
- Springform Pan is a Must – A springform pan allows for easy removal without damaging the cheesecake. If you don’t have one, use a deep pie dish, but note that serving might be trickier.
- Lining the Pan Helps – For easy removal, line the bottom of your springform pan with parchment paper before adding the crust.
- Cutting Clean Slices – Dip a sharp knife in warm water and wipe it clean between cuts to get picture-perfect cheesecake slices.
- Customizing the Topping – Instead of whipped cream, try a drizzle of melted chocolate or a dusting of cocoa powder for an extra fancy touch.
- Making It Gluten-Free – Use gluten-free chocolate sandwich cookies instead of regular Oreos for a gluten-free version of this cheesecake.
- Cheesecake Tastes Better the Next Day – The flavors continue to develop after a full day in the fridge, making this the perfect make-ahead dessert!

