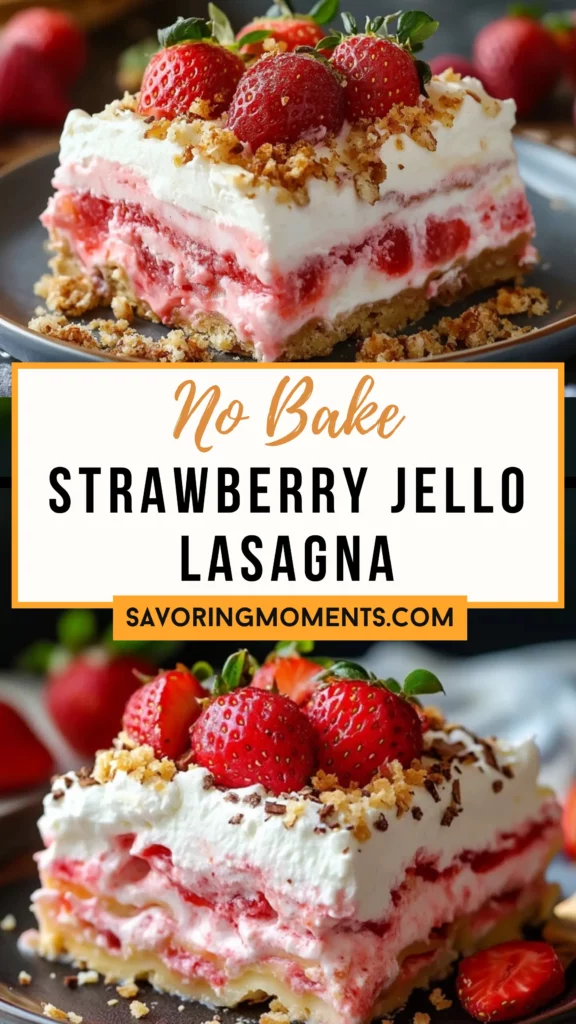
When the sun gets warmer and the markets start brimming with plump, ruby-red strawberries, it’s a clear signal: it’s time to pull out those no-bake desserts that scream summer! One of my favorite ways to celebrate strawberry season is by making this No Bake Strawberry Jello Lasagna. It’s one of those nostalgic desserts that instantly takes me back to childhood summers—sticky fingers, grass-stained knees, and the smell of fresh berries hanging in the air.

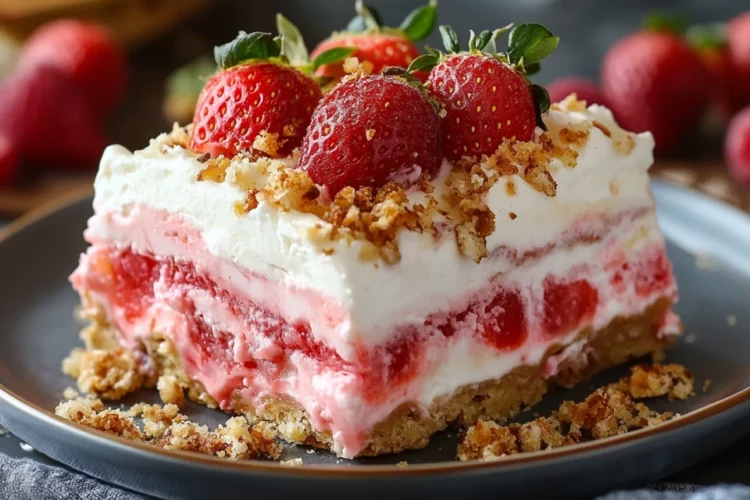
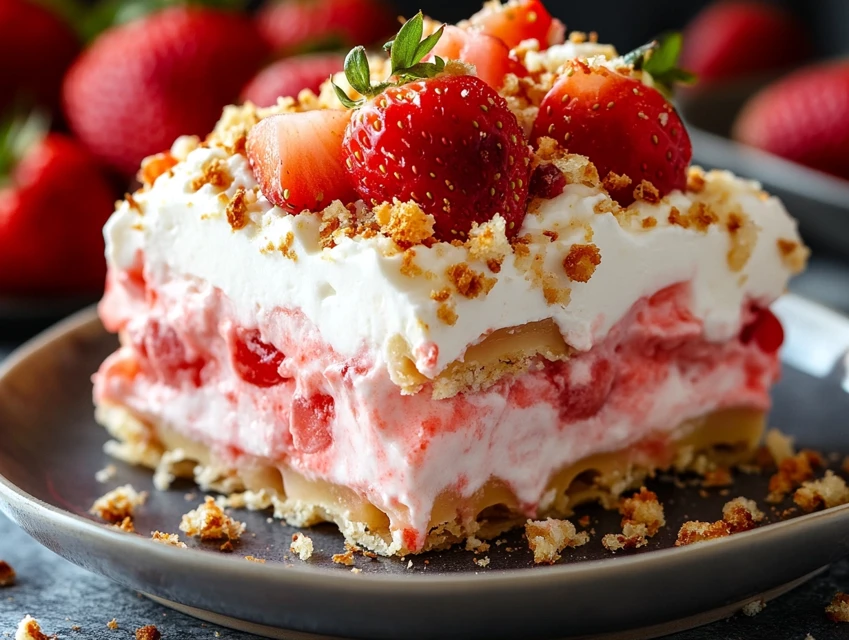
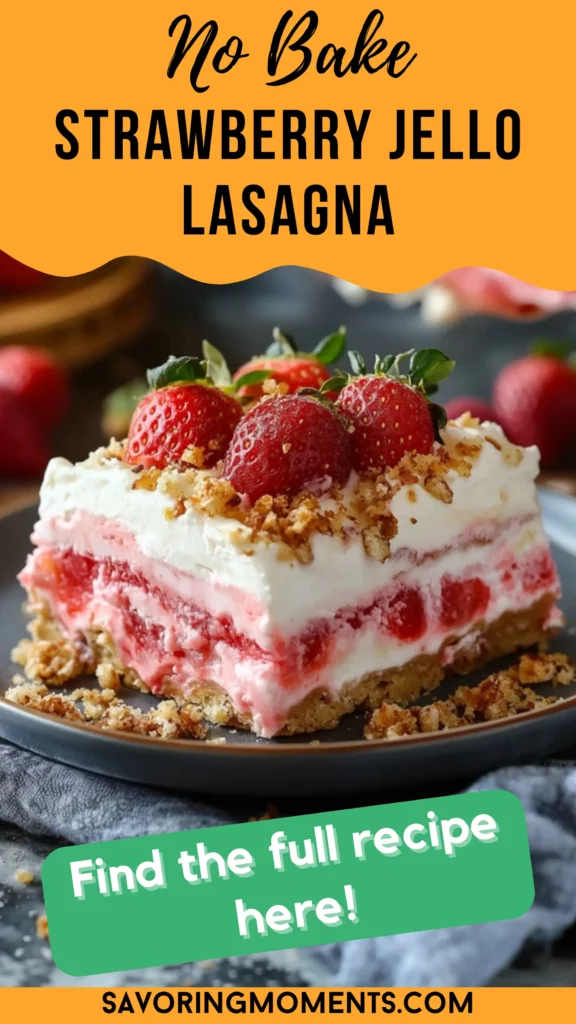
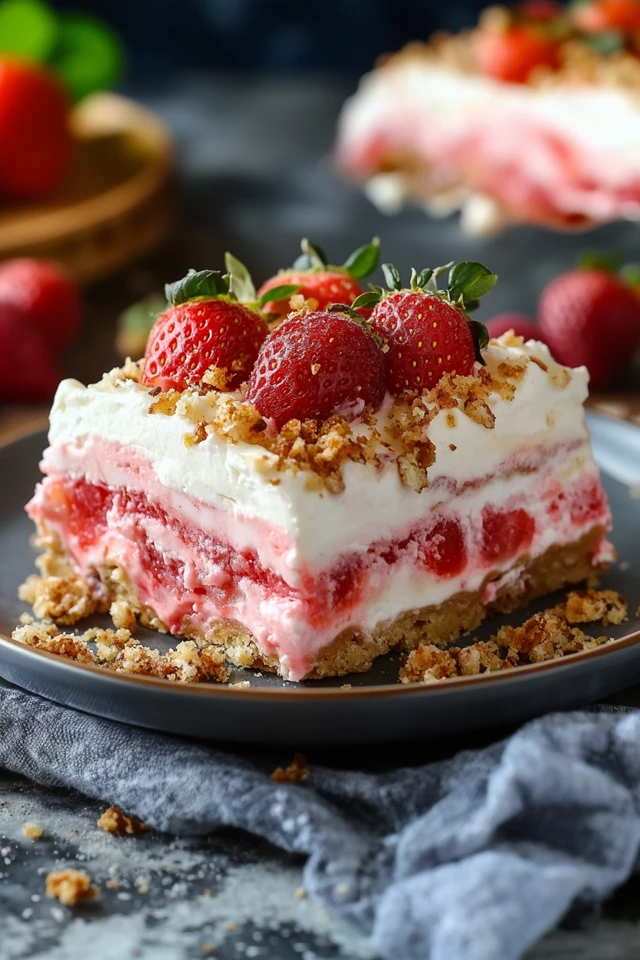
This layered treat is pure magic: buttery cookie crust, creamy cheesecake layer, fresh strawberries tucked into a jello blanket, and a pillowy cloud of whipped topping to finish it off. It’s a dessert that feels both indulgent and refreshing, making it the ultimate crowd-pleaser for barbecues, family reunions, and birthday parties. Plus, because it’s no-bake, you can whip it up without heating up the kitchen—a blessing on those steamy afternoons.
No Bake Strawberry Jello Lasagna feels like a love letter to summer: colorful, sweet, and best enjoyed barefoot in the backyard.
Why You’ll Love This Recipe:
- No oven required! Perfect for hot days.
- Easy to make: Simple layers with lots of flavor.
- Crowd favorite: Everyone from toddlers to grandparents will want a slice.
- Make ahead: Prepares beautifully in advance, giving you more time to enjoy the party.
- Customizable: Swap out strawberries for other fruits if you like!
INGREDIENTS YOU’LL NEED:
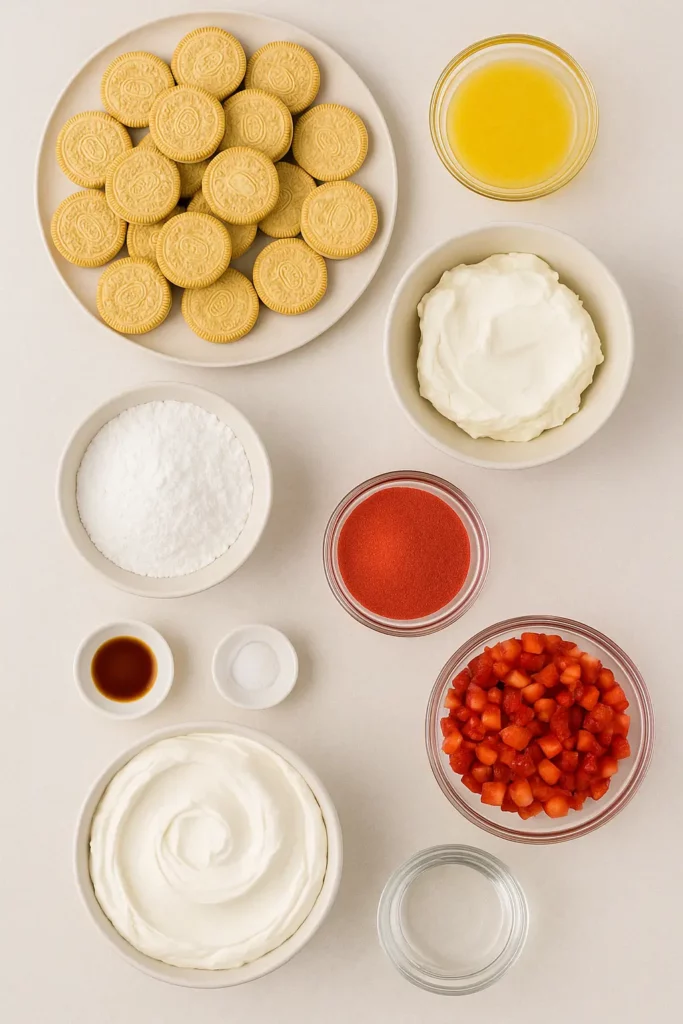
- 36 Golden Oreos
- 6 tablespoons unsalted butter, melted
- 8 oz cream cheese, softened
- 1 cup powdered sugar
- 1 teaspoon vanilla extract
- 16 oz whipped topping, divided
- 2 (3 oz) packages strawberry Jello
- 2 cups boiling water
- 2½ cups strawberries, diced
- 1 cup cold water
HOW TO MAKE No Bake Strawberry Jello Lasagna:
STEP-BY-STEP INSTRUCTIONS:
Step 1: Make the Cookie Crust
Start by placing your Golden Oreos into a food processor and pulse until you have fine crumbs. Pour the melted butter over the crumbs and pulse a few more times to combine. If you don’t have a food processor, no worries! You can also pop the cookies into a zip-top bag and crush them with a rolling pin—very therapeutic.
Press the buttery crumbs firmly into the bottom of a 9×13 inch pan to form a solid crust. Place the crust in the refrigerator to set while you work on the next layer.
Step 2: Prepare the Cream Cheese Layer
In a large mixing bowl, beat the softened cream cheese until smooth and fluffy. Add the powdered sugar and vanilla extract, and continue beating until everything is silky and well combined.
Gently fold in half of the whipped topping. You want to keep this layer light and airy, so use a soft hand! Spread the cream cheese mixture over the chilled crust, making sure to create an even layer from edge to edge. Pop the pan back into the fridge to firm up a bit.
Step 3: Make the Strawberry Jello Layer
In a separate bowl, dissolve both packages of strawberry Jello in the boiling water. Stir until completely dissolved—no gritty bits allowed! Add the cold water and give it a good stir. Then, fold in the diced strawberries.
Let the Jello mixture cool slightly (about 10–15 minutes) so it doesn’t melt the cream cheese layer when you pour it on top. Once it’s just warm, gently spoon the strawberry mixture over the cream cheese layer.
Step 4: Top It Off
After adding the Jello layer, refrigerate the dessert for at least 3–4 hours, or until the Jello is fully set. Right before serving, spread the remaining whipped topping across the top in a fluffy, dreamy layer.
If you want to get fancy, you can garnish with extra strawberries or even a sprinkle of crushed cookies for a little texture.
HELPFUL TIPS:
- Cool your Jello mixture before pouring it over the cream cheese layer, or you risk a melty mess.
- Use a glass or metal pan—plastic can sometimes impart weird flavors when chilling for long periods.
- Cut neatly: Dip your knife into warm water before slicing for clean, pretty pieces.
- Plan ahead: This dessert gets even better after an overnight chill, letting all the flavors meld beautifully.

DETAILS:
- Prep Time: 20 minutes
- Chill Time: 4 hours
- Total Time: 4 hours 20 minutes
- Yield: 12–15 servings
- Category: Dessert
- Method: No-Bake
- Cuisine: American
- Diet: Vegetarian
NOTES:
- You can easily swap strawberries for raspberries, blueberries, or even diced peaches depending on what’s in season.
- If you prefer a little more crunch, reserve a handful of cookie crumbs to sprinkle between layers.
- This dessert travels well, making it a great choice for potlucks and picnics.
NUTRITIONAL INFORMATION:
(Per serving—approximate)
- Calories: 290
- Carbohydrates: 28g
- Protein: 3g
- Fat: 19g
- Saturated Fat: 11g
- Cholesterol: 40mg
- Sodium: 180mg
- Sugar: 20g
- Fiber: 1g
FREQUENTLY ASKED QUESTIONS:
Can I make this a day ahead?
Absolutely! In fact, it’s even better after chilling overnight.
Can I use fresh whipped cream instead of whipped topping?
Definitely. Just make sure it’s stabilized if you need it to hold up for several hours.
Can I freeze this dessert?
It’s best enjoyed fresh, but you can freeze leftovers. Just know that the texture of the cream cheese layer may change a bit after thawing.
STORAGE INSTRUCTIONS:
Cover the pan tightly with plastic wrap or foil and store it in the refrigerator for up to 4 days. For longer storage, slice into individual portions and freeze for up to 1 month. Thaw in the refrigerator before serving.
Related Recipes
If you liked this recipe, you’ll definitely enjoy these other sweet summer treats:
- Juicy Triple Berry Dump Cake
- Salted Caramel Kentucky Butter Cake
- Blueberry Cheesecake Rolls
- Lemon Mascarpone Cake
CONCLUSION
No Bake Strawberry Jello Lasagna is the kind of dessert that brings smiles before the first bite even happens. It’s colorful, sweet, and irresistibly creamy—a perfect slice of summer on a plate. Whether you’re making it for a big celebration or just to brighten a regular Tuesday, this treat promises to be a little moment of joy. So grab those strawberries while they’re juicy and fresh, and let’s make some sweet, sunny memories!
Print
No Bake Strawberry Jello Lasagna
Description
When the sun gets warmer and the markets start brimming with plump, ruby-red strawberries, it’s a clear signal: it’s time to pull out those no-bake desserts that scream summer! One of my favorite ways to celebrate strawberry season is by making this No Bake Strawberry Jello Lasagna. It’s one of those nostalgic desserts that instantly takes me back to childhood summers—sticky fingers, grass-stained knees, and the smell of fresh berries hanging in the air.
This layered treat is pure magic: buttery cookie crust, creamy cheesecake layer, fresh strawberries tucked into a jello blanket, and a pillowy cloud of whipped topping to finish it off. It’s a dessert that feels both indulgent and refreshing, making it the ultimate crowd-pleaser for barbecues, family reunions, and birthday parties. Plus, because it’s no-bake, you can whip it up without heating up the kitchen—a blessing on those steamy afternoons.
No Bake Strawberry Jello Lasagna feels like a love letter to summer: colorful, sweet, and best enjoyed barefoot in the backyard.
Ingredients
36 Golden Oreos
6 tablespoons unsalted butter, melted
8 oz cream cheese, softened
1 cup powdered sugar
1 teaspoon vanilla extract
16 oz whipped topping, divided
2 (3 oz) packages strawberry Jello
2 cups boiling water
2½ cups strawberries, diced
1 cup cold water
Instructions
Step 1: Make the Cookie Crust
Start by placing your Golden Oreos into a food processor and pulse until you have fine crumbs. Pour the melted butter over the crumbs and pulse a few more times to combine. If you don’t have a food processor, no worries! You can also pop the cookies into a zip-top bag and crush them with a rolling pin—very therapeutic.
Press the buttery crumbs firmly into the bottom of a 9×13 inch pan to form a solid crust. Place the crust in the refrigerator to set while you work on the next layer.
Step 2: Prepare the Cream Cheese Layer
In a large mixing bowl, beat the softened cream cheese until smooth and fluffy. Add the powdered sugar and vanilla extract, and continue beating until everything is silky and well combined.
Gently fold in half of the whipped topping. You want to keep this layer light and airy, so use a soft hand! Spread the cream cheese mixture over the chilled crust, making sure to create an even layer from edge to edge. Pop the pan back into the fridge to firm up a bit.
Step 3: Make the Strawberry Jello Layer
In a separate bowl, dissolve both packages of strawberry Jello in the boiling water. Stir until completely dissolved—no gritty bits allowed! Add the cold water and give it a good stir. Then, fold in the diced strawberries.
Let the Jello mixture cool slightly (about 10–15 minutes) so it doesn’t melt the cream cheese layer when you pour it on top. Once it’s just warm, gently spoon the strawberry mixture over the cream cheese layer.
Step 4: Top It Off
After adding the Jello layer, refrigerate the dessert for at least 3–4 hours, or until the Jello is fully set. Right before serving, spread the remaining whipped topping across the top in a fluffy, dreamy layer.
If you want to get fancy, you can garnish with extra strawberries or even a sprinkle of crushed cookies for a little texture.
Notes
-
You can easily swap strawberries for raspberries, blueberries, or even diced peaches depending on what’s in season.
-
If you prefer a little more crunch, reserve a handful of cookie crumbs to sprinkle between layers.
-
This dessert travels well, making it a great choice for potlucks and picnics.