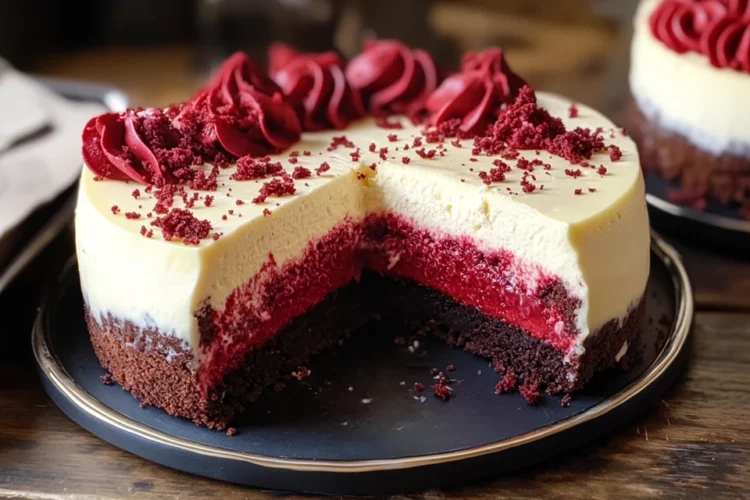
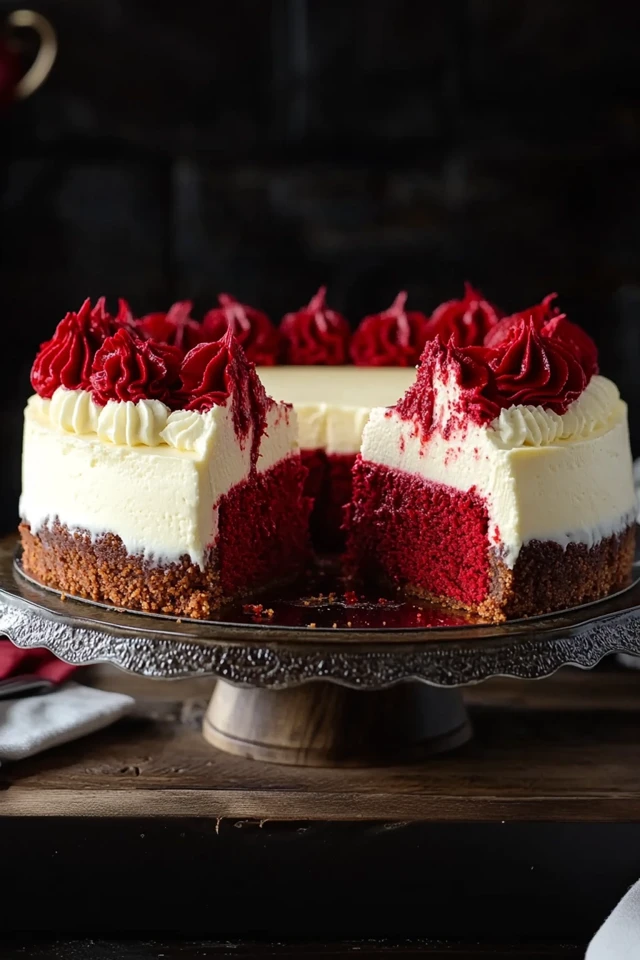
There’s something timeless and elegant about red velvet. It’s rich, romantic, and just a little mysterious—the deep crimson color paired with that delicate cocoa flavor has made it a classic for generations. But when you take that iconic red velvet cake and combine it with the creamy decadence of cheesecake? That’s when the magic really happens.
This Red Velvet Cheesecake is more than just a dessert—it’s a celebration on a plate. I first made this for a Valentine’s Day dinner years ago, and it instantly became a family favorite. Since then, it’s graced birthday tables, been the star of holiday spreads, and even served as a wedding dessert once (yes, really!). With its bold colors, dreamy texture, and impressive layers, it never fails to steal the show.
Whether you’re baking this for a special occasion or simply want to treat yourself and your loved ones, this cheesecake brings just the right amount of drama and indulgence. It’s sweet without being overwhelming, rich without being heavy, and that velvety smooth cream cheese layer in the middle? Absolute perfection.
Let’s bake something unforgettable.
Why You’ll Love This Recipe:
- Two Desserts in One – A classic red velvet cake and a creamy cheesecake come together in one show-stopping dessert.
- Beautiful Layers – Visually stunning and guaranteed to impress at any event.
- Make-Ahead Friendly – Tastes even better the next day, making it a great prep-ahead option for parties or holidays.
- Velvety Texture – Moist cake, luscious cheesecake, and rich cream cheese frosting… every bite melts in your mouth.
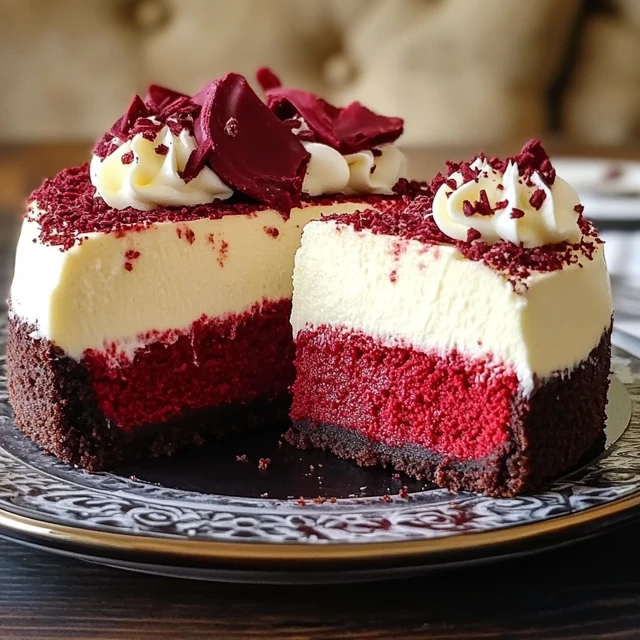
INGREDIENTS YOU’LL NEED:
For the Red Velvet Cake Layers:
- 2½ cups all-purpose flour
- 1½ cups granulated sugar
- 1 teaspoon baking soda
- 1 teaspoon fine salt
- 1 teaspoon cocoa powder
- 1½ cups vegetable oil
- 1 cup buttermilk, room temperature
- 2 large eggs
- 2 tablespoons red food coloring
- 1 teaspoon vanilla extract
- 1 teaspoon white vinegar
For the Cheesecake Layer:
- 16 oz cream cheese, softened
- ½ cup granulated sugar
- 2 large eggs
- ½ cup sour cream
- 1 teaspoon vanilla extract
For the Cream Cheese Frosting:
- 8 oz cream cheese, softened
- ½ cup unsalted butter, softened
- 2½ cups powdered sugar
- 1 teaspoon vanilla extract
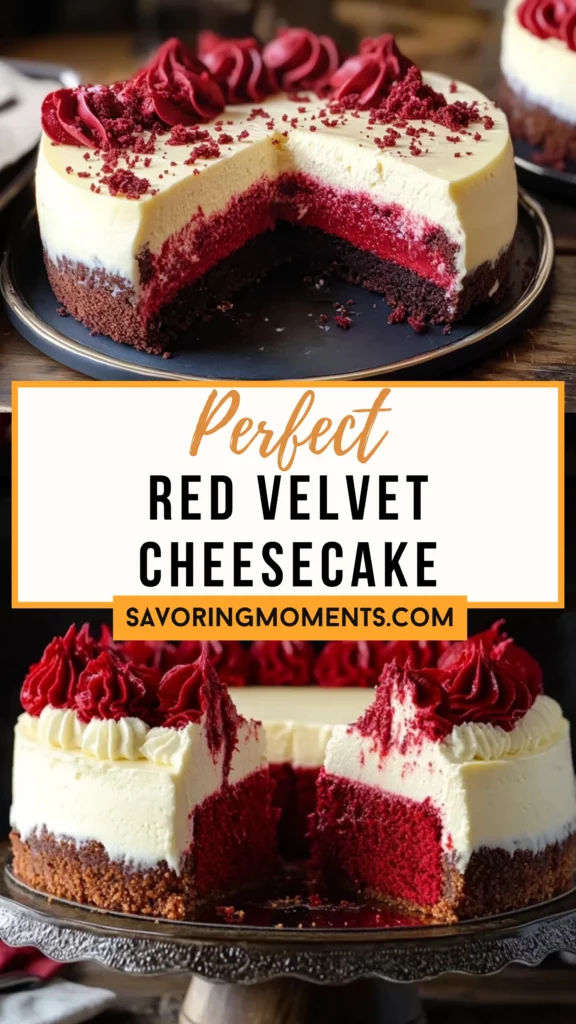
HOW TO MAKE RED VELVET CHEESECAKE:
STEP-BY-STEP INSTRUCTIONS:
Let’s walk through this together—it’s easier than it looks, and I promise the payoff is more than worth it.
1. Start with the Cheesecake Layer
Begin here since the cheesecake needs time to chill before assembling. Preheat your oven to 325°F (163°C). Line a 9-inch springform pan with parchment paper and lightly grease the sides.
In a mixing bowl, beat the cream cheese until smooth and fluffy. Add in the sugar and beat until combined. Next, mix in the eggs, one at a time, followed by the sour cream and vanilla. You want the batter silky and lump-free.
Pour the cheesecake mixture into the prepared pan and bake for about 45–50 minutes, or until the center is just set. Don’t worry if it jiggles slightly—it’ll firm up in the fridge.
Once baked, let it cool at room temperature, then refrigerate for at least 4 hours, or overnight. This helps it hold its shape when layered later.
2. Bake the Red Velvet Cake Layers
Preheat the oven to 350°F (177°C). Grease and flour two 9-inch round cake pans.
In a large bowl, sift together flour, sugar, baking soda, salt, and cocoa powder. In another bowl, whisk together oil, buttermilk, eggs, red food coloring, vanilla, and vinegar.
Gradually add the wet mixture to the dry ingredients, mixing until smooth and well blended. Divide the batter evenly between the two pans and bake for 30–35 minutes. A toothpick inserted should come out clean.
Cool the cakes in the pans for 10 minutes, then turn out onto wire racks to cool completely.
3. Make the Cream Cheese Frosting
In a large bowl, beat the cream cheese and butter until fluffy. Gradually add powdered sugar, mixing until smooth. Stir in vanilla. This frosting is creamy, dreamy, and just the right amount of sweet.
4. Assemble the Cake
Once everything is chilled and cooled, it’s time to stack!
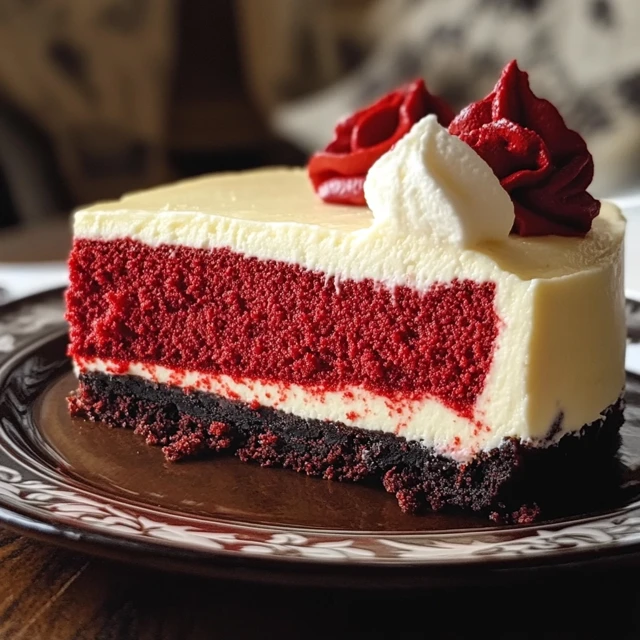
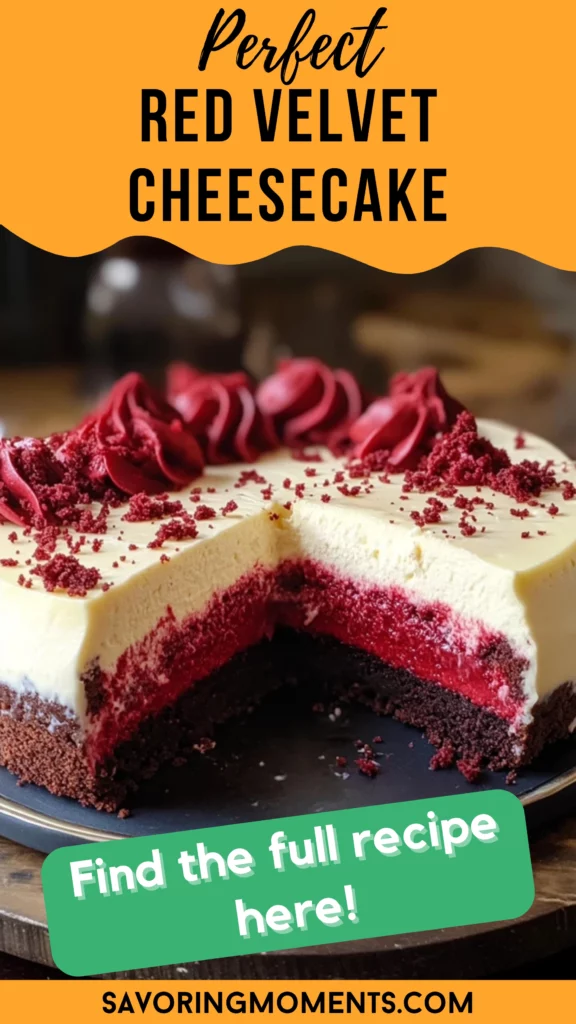
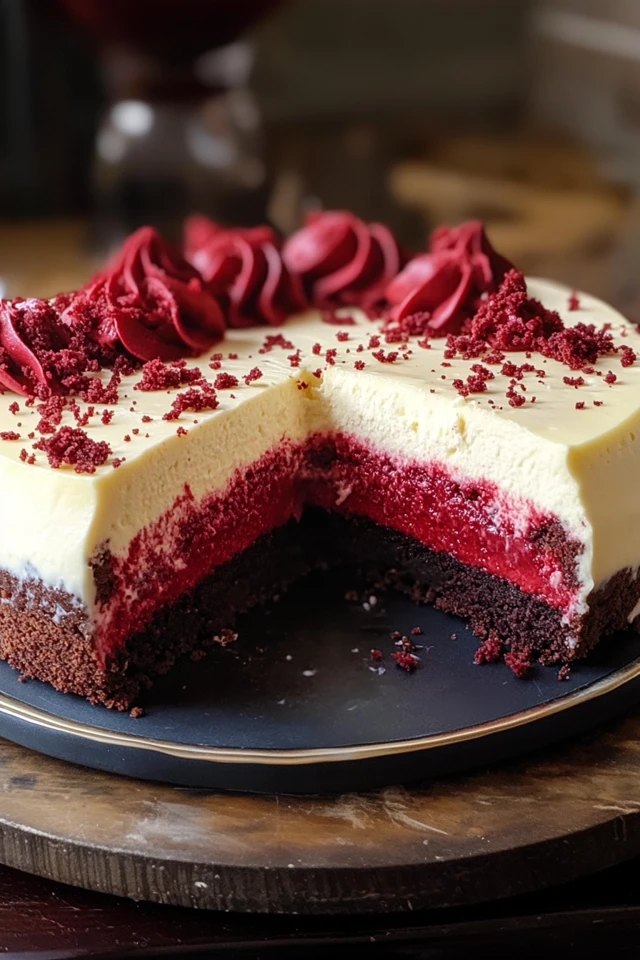
Place one red velvet cake layer on a serving plate. Carefully top it with the chilled cheesecake layer. Then add the second red velvet layer on top.
Frost the entire cake with cream cheese frosting—don’t be shy! You can smooth it out for a clean look or go rustic with swirls and swoops.
If you saved some cake trimmings, crumble them on top for decoration. Chill the whole cake for an hour before slicing to let everything set nicely.
HELPFUL TIPS:
- Don’t skip chilling the cheesecake – It needs time to firm up so it doesn’t fall apart when layering.
- Use room temperature ingredients – This ensures smooth mixing and even baking.
- Level your cake layers – If the tops are domed, trim them for easier stacking.
- Add a cake board – It makes moving and assembling much easier.
- Make ahead – The flavors meld and improve after a day in the fridge!
DETAILS:
- Prep Time: 1 hour (plus chilling time)
- Cook Time: 1 hour 30 minutes
- Total Time: About 6 hours (including chill time)
- Yield: 12–14 servings
- Category: Dessert
- Method: Baking
- Cuisine: American
- Diet: Vegetarian
NOTES:
If you’re short on time, you can make the cheesecake and red velvet layers a day ahead and assemble the next day. It’s a great stress-free dessert for busy hosts!
NUTRITIONAL INFORMATION:
(Per slice – approx.)
Calories: 560
Fat: 35g
Carbohydrates: 54g
Sugar: 40g
Protein: 6g
Fiber: 1g
FREQUENTLY ASKED QUESTIONS:
Can I freeze the cheesecake layer?
Yes! You can freeze the cheesecake (unfrosted) for up to a month. Just wrap it tightly and thaw overnight in the fridge before assembling.
Can I use gel food coloring?
Absolutely. Just use a smaller amount—it’s more concentrated than liquid.
What if I don’t have buttermilk?
No worries. You can make a quick substitute by mixing 1 tablespoon of lemon juice or vinegar with 1 cup of milk. Let it sit for 5 minutes before using.
Can I make this gluten-free?
Yes! Use a 1:1 gluten-free flour blend, and check all your ingredients for gluten-free certification.
STORAGE INSTRUCTIONS:
Store the finished cheesecake in the refrigerator, covered, for up to 5 days. You can also freeze individual slices for up to 1 month—just wrap them well in plastic wrap and foil before freezing. Thaw overnight in the fridge.
Related Recipes
If you liked this recipe, you’ll definitely enjoy these other cheesy delights:
- Red Velvet Cheesecake Brownies
- Red Velvet Strawberry Cheesecake
- Red Velvet Cheesecake Bites
- Red Velvet Strawberry Cheesecake
CONCLUSION
Red velvet cheesecake is the kind of dessert that stops conversations and turns heads. It’s indulgent, striking, and deeply satisfying. Whether you’re serving it at a celebration or sneaking a slice after dinner, it’s a dessert worth savoring. I hope this recipe brings as much joy to your kitchen as it has to mine. Don’t be afraid to make it your own—baking is about love, creativity, and a little bit of fun. Happy baking!
Print
Red Velvet Cheesecake: Decadent, Creamy, and Perfect for Celebrations
Description
There’s something timeless and elegant about red velvet. It’s rich, romantic, and just a little mysterious—the deep crimson color paired with that delicate cocoa flavor has made it a classic for generations. But when you take that iconic red velvet cake and combine it with the creamy decadence of cheesecake? That’s when the magic really happens.
This Red Velvet Cheesecake is more than just a dessert—it’s a celebration on a plate. I first made this for a Valentine’s Day dinner years ago, and it instantly became a family favorite. Since then, it’s graced birthday tables, been the star of holiday spreads, and even served as a wedding dessert once (yes, really!). With its bold colors, dreamy texture, and impressive layers, it never fails to steal the show.
Whether you’re baking this for a special occasion or simply want to treat yourself and your loved ones, this cheesecake brings just the right amount of drama and indulgence. It’s sweet without being overwhelming, rich without being heavy, and that velvety smooth cream cheese layer in the middle? Absolute perfection.
Let’s bake something unforgettable.
Ingredients
For the Red Velvet Cake Layers:
2½ cups all-purpose flour
1½ cups granulated sugar
1 teaspoon baking soda
1 teaspoon fine salt
1 teaspoon cocoa powder
1½ cups vegetable oil
1 cup buttermilk, room temperature
2 large eggs
2 tablespoons red food coloring
1 teaspoon vanilla extract
1 teaspoon white vinegar
For the Cheesecake Layer:
16 oz cream cheese, softened
½ cup granulated sugar
2 large eggs
½ cup sour cream
1 teaspoon vanilla extract
For the Cream Cheese Frosting:
8 oz cream cheese, softened
½ cup unsalted butter, softened
2½ cups powdered sugar
1 teaspoon vanilla extract
Instructions
Begin here since the cheesecake needs time to chill before assembling. Preheat your oven to 325°F (163°C). Line a 9-inch springform pan with parchment paper and lightly grease the sides.
In a mixing bowl, beat the cream cheese until smooth and fluffy. Add in the sugar and beat until combined. Next, mix in the eggs, one at a time, followed by the sour cream and vanilla. You want the batter silky and lump-free.
Pour the cheesecake mixture into the prepared pan and bake for about 45–50 minutes, or until the center is just set. Don’t worry if it jiggles slightly—it’ll firm up in the fridge.
Once baked, let it cool at room temperature, then refrigerate for at least 4 hours, or overnight. This helps it hold its shape when layered later.
Preheat the oven to 350°F (177°C). Grease and flour two 9-inch round cake pans.
In a large bowl, sift together flour, sugar, baking soda, salt, and cocoa powder. In another bowl, whisk together oil, buttermilk, eggs, red food coloring, vanilla, and vinegar.
Gradually add the wet mixture to the dry ingredients, mixing until smooth and well blended. Divide the batter evenly between the two pans and bake for 30–35 minutes. A toothpick inserted should come out clean.
Cool the cakes in the pans for 10 minutes, then turn out onto wire racks to cool completely.
In a large bowl, beat the cream cheese and butter until fluffy. Gradually add powdered sugar, mixing until smooth. Stir in vanilla. This frosting is creamy, dreamy, and just the right amount of sweet.
Once everything is chilled and cooled, it’s time to stack!
Place one red velvet cake layer on a serving plate. Carefully top it with the chilled cheesecake layer. Then add the second red velvet layer on top.
Frost the entire cake with cream cheese frosting—don’t be shy! You can smooth it out for a clean look or go rustic with swirls and swoops.
If you saved some cake trimmings, crumble them on top for decoration. Chill the whole cake for an hour before slicing to let everything set nicely.
Notes
If you’re short on time, you can make the cheesecake and red velvet layers a day ahead and assemble the next day. It’s a great stress-free dessert for busy hosts!

