
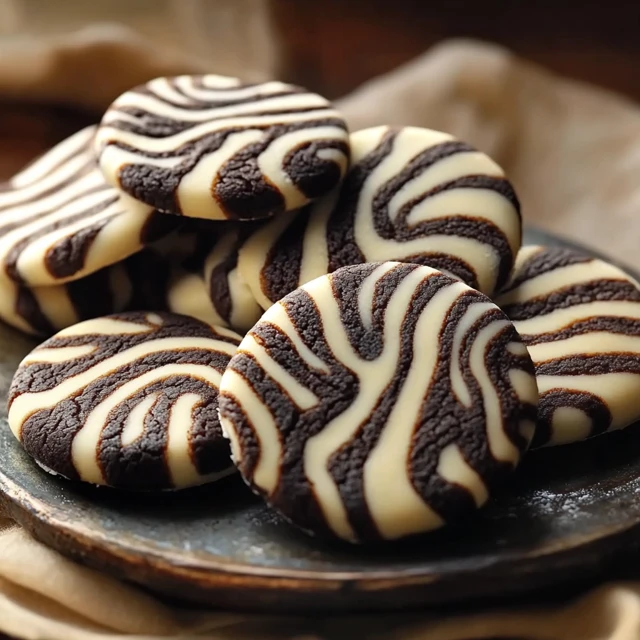
There’s something nostalgic and quietly magical about a batch of cookies baking in the oven. The warmth, the buttery scent wafting through the kitchen—it’s a reminder of childhood afternoons spent licking the spoon and waiting impatiently by the oven door. Zebra cookies tap right into that cozy memory, but with a little flair. Their black-and-white striped layers aren’t just pretty to look at—they bring together the best of both vanilla and chocolate in each soft, tender bite.

These cookies always remind me of holiday cookie trays, the ones my aunt used to fill to the brim with a rainbow of treats. But no matter how many kinds she made, it was always the zebra cookies that disappeared first. There’s just something irresistible about their simplicity and elegance. They’re festive without being fussy, and fun to make without needing a culinary degree. Plus, they’re perfect for any season—warm with tea in winter or with a scoop of vanilla ice cream in summer.
Whether you’re baking for a special occasion or just want a treat to brighten up your afternoon, this zebra cookie recipe is one to save and return to again and again.
Why You’ll Love This Recipe:
- Eye-catching appearance: The contrasting vanilla and chocolate stripes make them a stunner on any cookie platter.
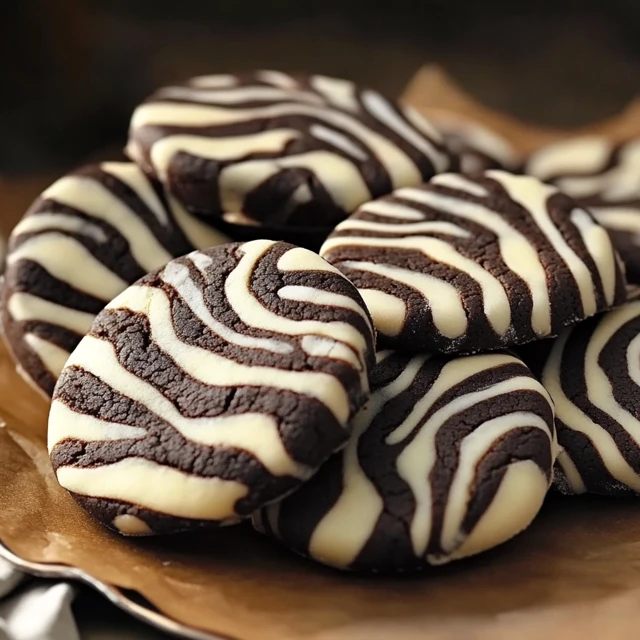
- Two classic flavors in one bite: Rich cocoa and buttery vanilla doughs complement each other perfectly.
- Simple ingredients: No fancy tools or hard-to-find items needed.
- Freezer-friendly: Make ahead and bake whenever the cookie craving hits.
- Fun to make with kids: Shaping and stacking the dough is like edible arts and crafts.
INGREDIENTS YOU’LL NEED:
For the Vanilla Dough:
- 1 cup (226g) unsalted butter, softened
- 1 cup (200g) granulated sugar
- 1 large egg
- 2 teaspoons vanilla extract
- 2 ½ cups (300g) all-purpose flour
- ½ teaspoon baking powder
- ¼ teaspoon salt
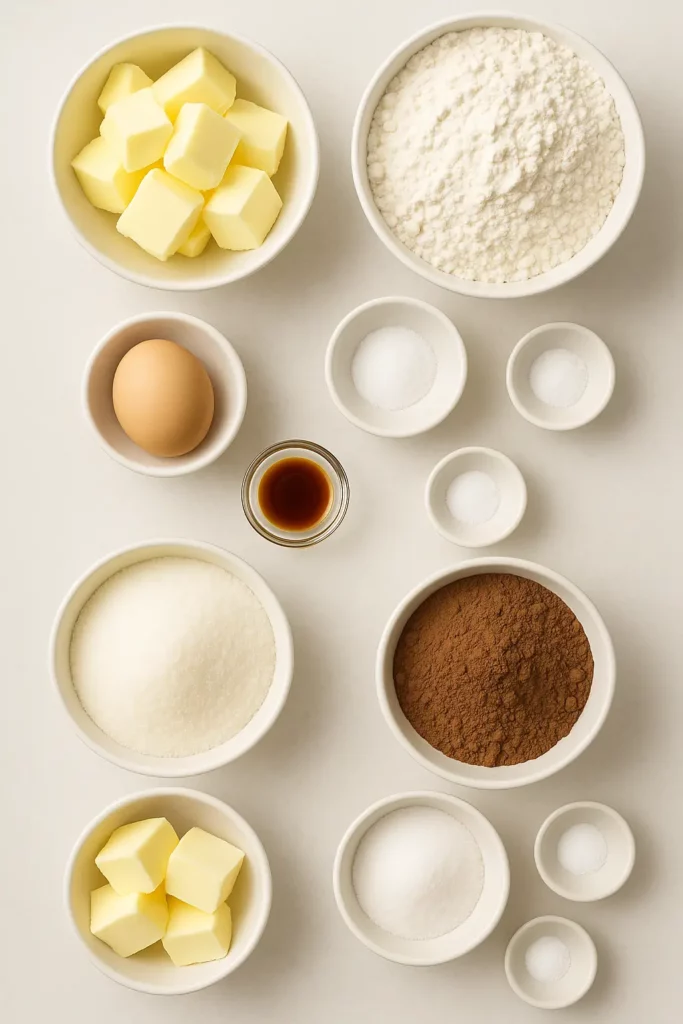
For the Chocolate Dough:
- 1 cup (226g) unsalted butter, softened
- 1 cup (200g) granulated sugar
- 1 large egg
- 2 teaspoons vanilla extract
- 2 cups (240g) all-purpose flour
- ½ cup (40g) unsweetened cocoa powder
- ½ teaspoon baking powder
- ¼ teaspoon salt
HOW TO MAKE ZEBRA COOKIES:
STEP-BY-STEP INSTRUCTIONS:
1. Start with the doughs
Begin by making both the vanilla and chocolate doughs. The process is nearly identical for each, so you can mix them back to back. Cream the butter and sugar until light and fluffy. This step gives your cookies a soft, melt-in-your-mouth texture, so take your time—3-5 minutes is ideal.
Then add the egg and vanilla extract, mixing just until combined. In a separate bowl, whisk together your dry ingredients, and slowly incorporate them into the wet mixture. Stir until a smooth dough forms.
Repeat this for the second dough, replacing part of the flour with cocoa powder for that deep chocolatey flavor.
2. Chill time
Once both doughs are ready, divide each in half. Shape each portion into a rectangle, wrap them in plastic wrap, and refrigerate for at least 1 hour. This makes the dough much easier to handle when you’re layering.

3. Layer and stack
Now comes the fun part—creating the zebra stripes. Roll out each portion into a rectangle, about ¼-inch thick. Try to make them the same size for even stacking. Alternate layers of vanilla and chocolate dough, pressing gently between each to remove air bubbles.
I like to use a rolling pin lightly over the top to smooth and even everything out. Once all your layers are stacked, wrap the dough block and chill again for at least 30 minutes to firm up.
4. Slice and bake
Preheat your oven to 350°F (175°C). Line a baking sheet with parchment paper. Slice the dough block into ¼-inch thick cookies using a sharp knife. You’ll see the beautiful zebra pattern reveal itself with each slice!
Place cookies on the prepared sheet, leaving a bit of space between them, and bake for 10–12 minutes, or until the edges are just set. They’ll continue to firm up as they cool.
Let them rest on the sheet for 5 minutes before transferring to a wire rack.
HELPFUL TIPS:
- Don’t skip chilling the dough: It makes slicing easier and helps the cookies hold their shape.
- Use a ruler if needed: Keeping your layers the same size will help create even stripes.
- Make ahead: You can freeze the layered dough block for up to a month. Just slice and bake as needed.
- Use a serrated knife for slicing: This helps prevent squishing the layers.
DETAILS:
- Prep Time: 25 minutes (plus chilling time)
- Cook Time: 10–12 minutes
- Total Time: About 2.5 hours (with chilling)
- Yield: About 36 cookies
- Category: Dessert
- Method: Baking
- Cuisine: American
- Diet: Vegetarian
NOTES:
- Make sure the butter is softened but not melted—this affects the final texture.
- You can add a teaspoon of espresso powder to the chocolate dough for a deeper flavor.

NUTRITIONAL INFORMATION: (Approx. per cookie)
Calories: 120
Fat: 6g
Carbohydrates: 15g
Sugar: 7g
Protein: 1g
Fiber: 1g
FREQUENTLY ASKED QUESTIONS:
Can I use gluten-free flour?
Yes! Just make sure it’s a 1:1 baking blend that includes xanthan gum.
Do these cookies spread a lot?
Not much. The chilled dough and short baking time help them keep their shape nicely.
How can I get sharp stripes?
Use a very sharp knife and chill your dough thoroughly before slicing.
STORAGE INSTRUCTIONS:
Store your zebra cookies in an airtight container at room temperature for up to 1 week. They also freeze beautifully—just pop them in a zip-top bag and store for up to 3 months. Let thaw at room temperature for 20–30 minutes before enjoying.
Related Recipes
If you liked this recipe, you’ll definitely enjoy these other chocolatey or buttery delights:
- Orange Cranberry Ricotta Cookies
- Raspberry Chocolate Chunk Cookies
- Levain Bakery-Style Black and White Cookies
- Chewy Chocolate Espresso Cookies
CONCLUSION
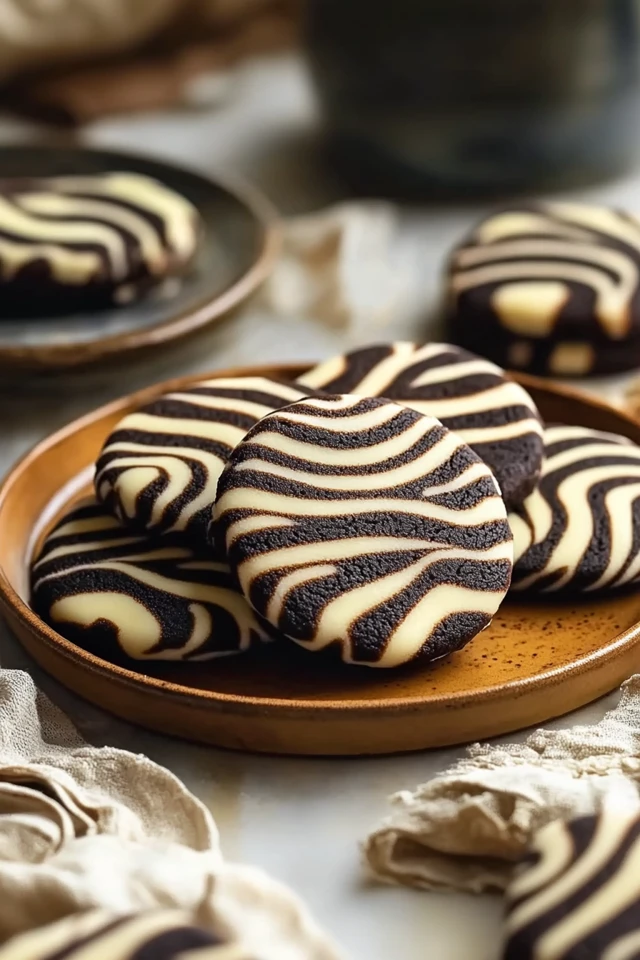
Zebra cookies aren’t just fun to look at—they’re delicious little bites of nostalgia and charm. With their striped elegance and simple, satisfying flavor, they’re the kind of treat that turns any ordinary day into something a bit more special. Whether you’re making them for a party, gifting a batch, or just baking for yourself, these cookies are sure to bring smiles. So pull out the mixing bowls and roll up your sleeves—there’s a beautiful batch of zebra cookies just waiting to be made.
Print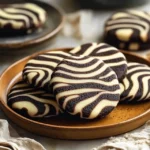
Zebra Cookies
Description
There’s something nostalgic and quietly magical about a batch of cookies baking in the oven. The warmth, the buttery scent wafting through the kitchen—it’s a reminder of childhood afternoons spent licking the spoon and waiting impatiently by the oven door. Zebra cookies tap right into that cozy memory, but with a little flair. Their black-and-white striped layers aren’t just pretty to look at—they bring together the best of both vanilla and chocolate in each soft, tender bite.
These cookies always remind me of holiday cookie trays, the ones my aunt used to fill to the brim with a rainbow of treats. But no matter how many kinds she made, it was always the zebra cookies that disappeared first. There’s just something irresistible about their simplicity and elegance. They’re festive without being fussy, and fun to make without needing a culinary degree. Plus, they’re perfect for any season—warm with tea in winter or with a scoop of vanilla ice cream in summer.
Whether you’re baking for a special occasion or just want a treat to brighten up your afternoon, this zebra cookie recipe is one to save and return to again and again.
Ingredients
For the Vanilla Dough:
1 cup (226g) unsalted butter, softened
1 cup (200g) granulated sugar
1 large egg
2 teaspoons vanilla extract
2 ½ cups (300g) all-purpose flour
½ teaspoon baking powder
¼ teaspoon salt
For the Chocolate Dough:
1 cup (226g) unsalted butter, softened
1 cup (200g) granulated sugar
1 large egg
2 teaspoons vanilla extract
2 cups (240g) all-purpose flour
½ cup (40g) unsweetened cocoa powder
½ teaspoon baking powder
¼ teaspoon salt
Instructions
1. Start with the doughs
Begin by making both the vanilla and chocolate doughs. The process is nearly identical for each, so you can mix them back to back. Cream the butter and sugar until light and fluffy. This step gives your cookies a soft, melt-in-your-mouth texture, so take your time—3-5 minutes is ideal.
Then add the egg and vanilla extract, mixing just until combined. In a separate bowl, whisk together your dry ingredients, and slowly incorporate them into the wet mixture. Stir until a smooth dough forms.
Repeat this for the second dough, replacing part of the flour with cocoa powder for that deep chocolatey flavor.
2. Chill time
Once both doughs are ready, divide each in half. Shape each portion into a rectangle, wrap them in plastic wrap, and refrigerate for at least 1 hour. This makes the dough much easier to handle when you’re layering.
3. Layer and stack
Now comes the fun part—creating the zebra stripes. Roll out each portion into a rectangle, about ¼-inch thick. Try to make them the same size for even stacking. Alternate layers of vanilla and chocolate dough, pressing gently between each to remove air bubbles.
I like to use a rolling pin lightly over the top to smooth and even everything out. Once all your layers are stacked, wrap the dough block and chill again for at least 30 minutes to firm up.
4. Slice and bake
Preheat your oven to 350°F (175°C). Line a baking sheet with parchment paper. Slice the dough block into ¼-inch thick cookies using a sharp knife. You’ll see the beautiful zebra pattern reveal itself with each slice!
Place cookies on the prepared sheet, leaving a bit of space between them, and bake for 10–12 minutes, or until the edges are just set. They’ll continue to firm up as they cool.
Let them rest on the sheet for 5 minutes before transferring to a wire rack.
Notes
-
Make sure the butter is softened but not melted—this affects the final texture.
-
You can add a teaspoon of espresso powder to the chocolate dough for a deeper flavor.