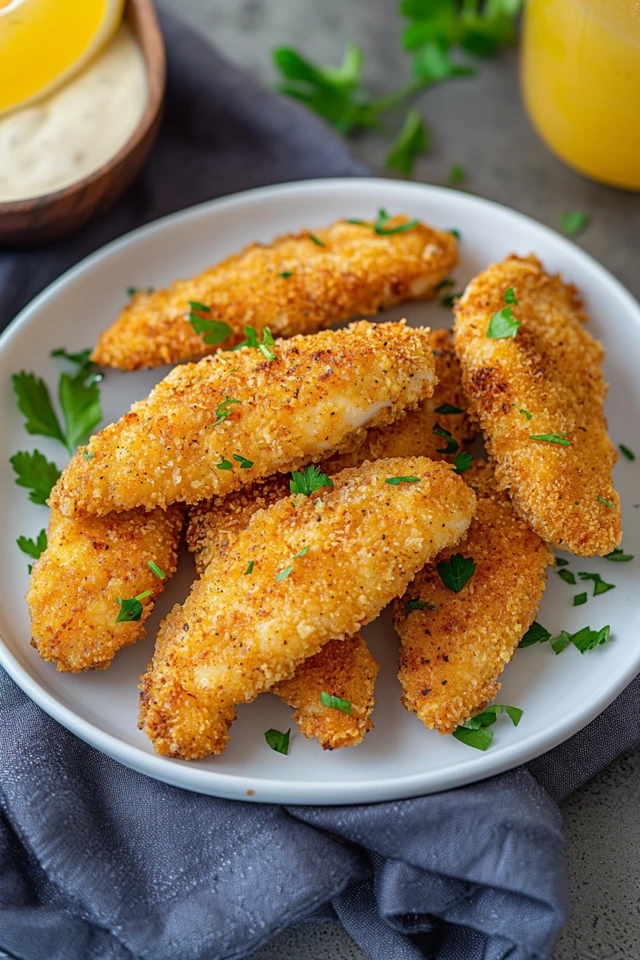
There’s something so comforting about a plate of crispy, golden-brown chicken tenders. Whether they remind you of childhood dinners, fun family gatherings, or your favorite restaurant meal, chicken tenders are a classic that never gets old. The best part? You don’t have to fry them to get that irresistible crunch! This recipe for baked chicken tenders gives you all the crispy goodness without the extra oil, making them a healthier yet equally delicious option.
Perfect for a quick dinner, meal prep, or a fun snack, these baked chicken tenders are seasoned to perfection, coated in a crispy breadcrumb crust, and baked until they’re golden brown. They’re kid-friendly, adult-approved, and perfect for dipping into your favorite sauces. Let’s get started!
Why You’ll Love This Recipe
- Crispy Without Frying – No need for deep frying! These tenders come out perfectly crunchy straight from the oven.
- Healthier Option – Baking cuts down on excess oil, making this a lighter alternative to traditional fried tenders.
- Easy to Make – Simple ingredients and a quick prep time make this a hassle-free meal.
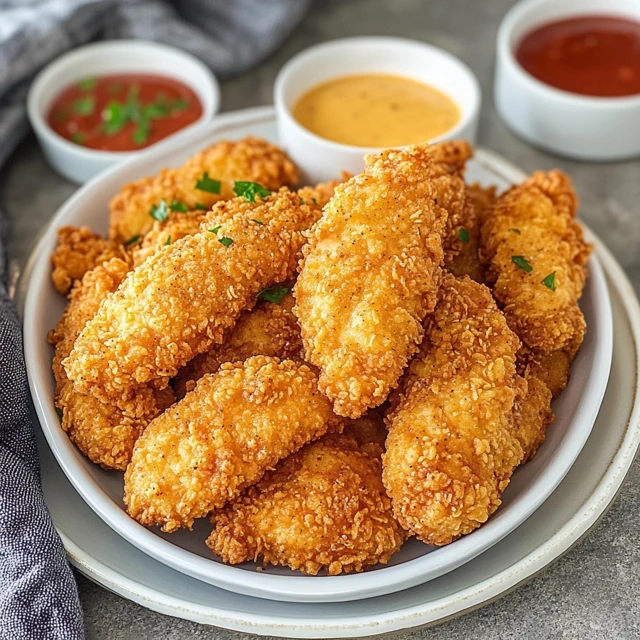
- Perfect for Dipping – These tenders pair perfectly with honey mustard, BBQ sauce, ranch, or your favorite dipping sauce.
- Kid-Friendly – A guaranteed crowd-pleaser for the little ones (and the adults too!).
Ingredients You’ll Need
- 1 ½ pounds chicken tenders
- 1 cup all-purpose flour
- 2 large eggs
- 1 cup panko breadcrumbs
- 1 cup regular breadcrumbs
- 1 teaspoon garlic powder
- 1 teaspoon onion powder
- 1 teaspoon paprika
- ½ teaspoon salt
- ½ teaspoon black pepper
- ½ teaspoon dried oregano
- ½ teaspoon dried parsley
- 1 tablespoon olive oil

How to Make Baked Chicken Tenders
Step 1: Preheat and Prepare
Preheat your oven to 400°F (200°C). Line a baking sheet with parchment paper or lightly grease it with cooking spray to prevent sticking.
Step 2: Set Up the Breading Station
You’ll need three shallow bowls:
- Flour Bowl: Add the all-purpose flour.
- Egg Bowl: Whisk the eggs until fully combined.
- Breadcrumb Bowl: Combine the panko breadcrumbs, regular breadcrumbs, garlic powder, onion powder, paprika, salt, black pepper, dried oregano, and dried parsley. Drizzle in the olive oil and mix well to ensure an even coating.
Step 3: Bread the Chicken
Take each chicken tender, coat it in the flour (shaking off the excess), dip it into the beaten eggs, and then roll it in the seasoned breadcrumb mixture. Press the breadcrumbs onto the chicken to help them stick.
Step 4: Bake to Perfection
Place the breaded chicken tenders on the prepared baking sheet, ensuring they are spaced apart. Bake for 18-20 minutes, flipping halfway through, until they are golden brown and reach an internal temperature of 165°F (75°C).
Step 5: Serve and Enjoy!
Let the tenders cool slightly before serving. Enjoy them with your favorite dipping sauces like honey mustard, ranch, or BBQ sauce!
Helpful Tips for the Best Baked Chicken Tenders
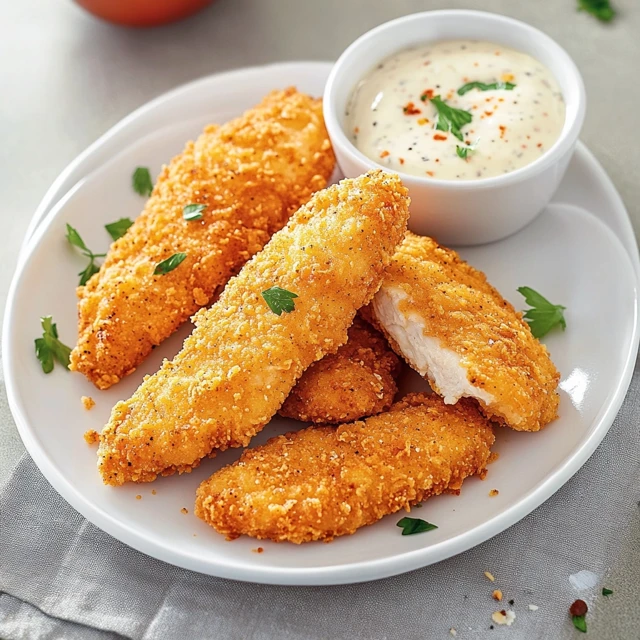
- Use Panko for Extra Crispiness – Panko breadcrumbs give the tenders a light and airy crunch that regular breadcrumbs alone can’t achieve.
- Don’t Skip the Flip – Turning the tenders halfway through baking ensures even crispiness on both sides.
- For Even More Crunch – Place a wire rack on top of the baking sheet and bake the tenders on the rack. This allows hot air to circulate around the tenders, making them extra crispy.
- Season to Your Taste – Feel free to add a little cayenne pepper for heat or parmesan cheese for extra flavor in the breadcrumb mixture.
- Make It Gluten-Free – Swap out the all-purpose flour and breadcrumbs for gluten-free alternatives.
Recipe Details
- Prep Time: 10 minutes
- Cook Time: 20 minutes
- Total Time: 30 minutes
- Yield: 4 servings
- Category: Main Dish
- Method: Baking
- Cuisine: American
- Diet: High Protein

Notes
- For Extra Crunch – If you want your tenders to be even crispier, lightly spray them with cooking spray before baking. This helps them achieve a golden, crunchy texture.
- Even Cooking – Make sure the chicken tenders are evenly spaced on the baking sheet. Crowding them can lead to uneven baking and soggy spots.
- Breading Tip – Press the breadcrumb mixture firmly onto the chicken to ensure it sticks well and creates a crisp coating.
- Kid-Friendly Version – If making these for kids, you can skip the paprika and add a little parmesan cheese to the breadcrumb mixture for a milder flavor.
- Make-Ahead Option – You can bread the tenders in advance and store them in the fridge for up to 6 hours before baking.
- Best Way to Reheat – To keep them crispy, reheat in the oven at 350°F (175°C) for about 10 minutes instead of microwaving.
Storage Instructions
Refrigerating
Store any leftover chicken tenders in an airtight container in the refrigerator for up to 4 days. To reheat, bake at 350°F (175°C) for about 10 minutes or until warmed through.
Freezing
These tenders freeze beautifully! Place cooled tenders in a single layer on a baking sheet and freeze for about 1 hour. Then, transfer them to a freezer-safe bag and store them for up to 3 months.
Reheating from Frozen
Bake frozen tenders at 375°F (190°C) for 20-25 minutes until crispy and heated through. No need to thaw!
Nutritional Information (Per Serving)
- Calories: 320
- Protein: 35g
- Carbohydrates: 30g
- Fat: 8g
- Fiber: 2g
Frequently Asked Questions
Can I Use Chicken Breast Instead of Tenders?
Yes! If using whole chicken breasts, slice them into strips before breading.
Can I Make These in an Air Fryer?
Absolutely! Cook at 375°F (190°C) for 12-15 minutes, flipping halfway through.
What’s the Best Dipping Sauce for Chicken Tenders?
Classic options include honey mustard, ranch, BBQ sauce, buffalo sauce, or even ketchup.
Can I Make These Ahead of Time?
Yes! You can bread the tenders ahead of time, store them in the fridge for a few hours, and bake when ready.

Related Recipes
If you loved these crispy baked chicken tenders, you might also enjoy:
- Irresistibly Crispy Crack Chicken Tenders
- Hot Honey Chicken Biscuits
- Lemon Garlic Parmesan Chicken Tenders
Final Thoughts
Crispy, golden, and full of flavor, these baked chicken tenders are proof that you don’t need a deep fryer to make an amazing meal! Whether you’re making them for a weeknight dinner, game-day snack, or family gathering, they’re sure to be a hit. Plus, with easy storage and reheating, they’re a great make-ahead option.
Print
Crispy Baked Chicken Tenders
Description
There’s something so comforting about a plate of crispy, golden-brown chicken tenders. Whether they remind you of childhood dinners, fun family gatherings, or your favorite restaurant meal, chicken tenders are a classic that never gets old. The best part? You don’t have to fry them to get that irresistible crunch! This recipe for baked chicken tenders gives you all the crispy goodness without the extra oil, making them a healthier yet equally delicious option.
Perfect for a quick dinner, meal prep, or a fun snack, these baked chicken tenders are seasoned to perfection, coated in a crispy breadcrumb crust, and baked until they’re golden brown. They’re kid-friendly, adult-approved, and perfect for dipping into your favorite sauces. Let’s get started!
Ingredients
- 1 ½ pounds chicken tenders
- 1 cup all-purpose flour
- 2 large eggs
- 1 cup panko breadcrumbs
- 1 cup regular breadcrumbs
- 1 teaspoon garlic powder
- 1 teaspoon onion powder
- 1 teaspoon paprika
- ½ teaspoon salt
- ½ teaspoon black pepper
- ½ teaspoon dried oregano
- ½ teaspoon dried parsley
- 1 tablespoon olive oil
Instructions
Step 1: Preheat and Prepare
Preheat your oven to 400°F (200°C). Line a baking sheet with parchment paper or lightly grease it with cooking spray to prevent sticking.
Step 2: Set Up the Breading Station
You’ll need three shallow bowls:
- Flour Bowl: Add the all-purpose flour.
- Egg Bowl: Whisk the eggs until fully combined.
- Breadcrumb Bowl: Combine the panko breadcrumbs, regular breadcrumbs, garlic powder, onion powder, paprika, salt, black pepper, dried oregano, and dried parsley. Drizzle in the olive oil and mix well to ensure an even coating.
Step 3: Bread the Chicken
Take each chicken tender, coat it in the flour (shaking off the excess), dip it into the beaten eggs, and then roll it in the seasoned breadcrumb mixture. Press the breadcrumbs onto the chicken to help them stick.
Step 4: Bake to Perfection
Place the breaded chicken tenders on the prepared baking sheet, ensuring they are spaced apart. Bake for 18-20 minutes, flipping halfway through, until they are golden brown and reach an internal temperature of 165°F (75°C).
Step 5: Serve and Enjoy!
Let the tenders cool slightly before serving. Enjoy them with your favorite dipping sauces like honey mustard, ranch, or BBQ sauce!
Notes
- For Extra Crunch – If you want your tenders to be even crispier, lightly spray them with cooking spray before baking. This helps them achieve a golden, crunchy texture.
- Even Cooking – Make sure the chicken tenders are evenly spaced on the baking sheet. Crowding them can lead to uneven baking and soggy spots.
- Breading Tip – Press the breadcrumb mixture firmly onto the chicken to ensure it sticks well and creates a crisp coating.
- Kid-Friendly Version – If making these for kids, you can skip the paprika and add a little parmesan cheese to the breadcrumb mixture for a milder flavor.
- Make-Ahead Option – You can bread the tenders in advance and store them in the fridge for up to 6 hours before baking.
- Best Way to Reheat – To keep them crispy, reheat in the oven at 350°F (175°C) for about 10 minutes instead of microwaving.

