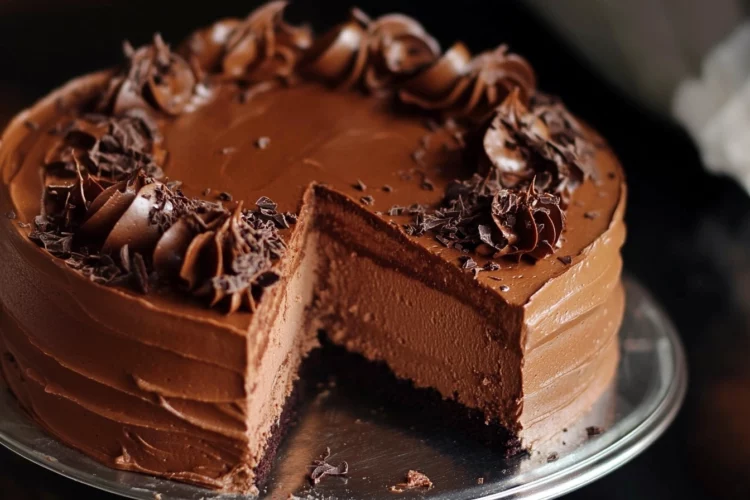
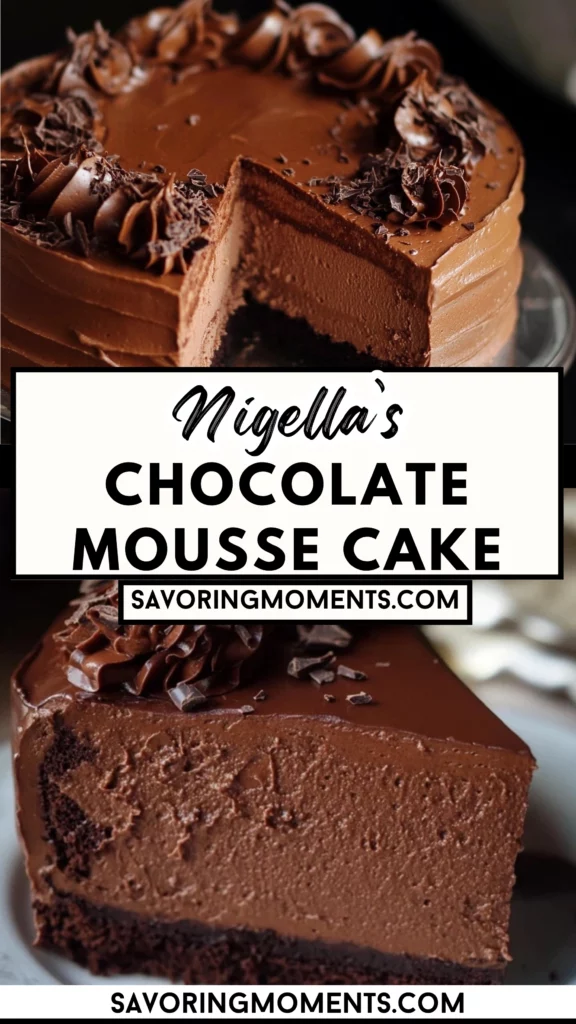
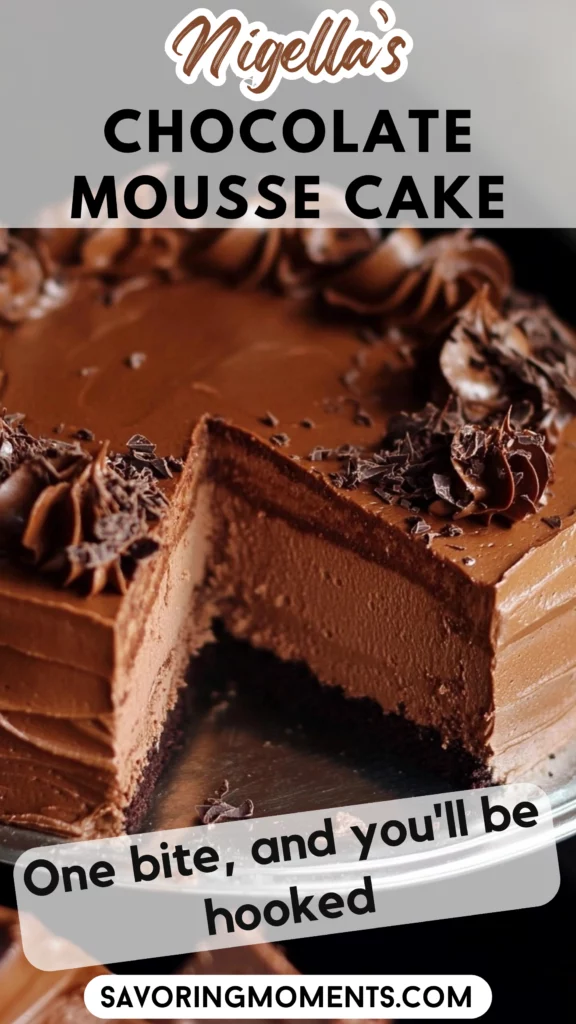
There’s something magical about a cake that doubles as a mousse—a dessert so rich and velvety, it feels like a warm embrace. Nigella Lawson’s Chocolate Mousse Cake captures the perfect balance of deep chocolate flavor and creamy texture. It’s a dessert that speaks to chocolate lovers and comfort seekers alike, combining indulgence with nostalgia.
This cake is the ultimate crowd-pleaser, perfect for holidays, birthdays, or just those days when you want a little decadence. Its simplicity makes it approachable, even for novice bakers. It’s one of those desserts that looks impressive but doesn’t require complicated techniques or hard-to-find ingredients. Plus, the process of baking it is therapeutic: the chocolatey aroma filling your kitchen, the satisfaction of smoothing the mousse, and, finally, the joy of seeing your loved ones savoring every bite.
Whether you’re baking this cake to celebrate a special occasion or to indulge in some well-deserved “me time,” it’s sure to become a cherished favorite in your dessert repertoire.
Why You’ll Love This Recipe
- Rich and Decadent: The combination of moist chocolate cake and airy mousse is a chocolate lover’s dream.
- Easy to Make: With straightforward steps and basic ingredients, this recipe is beginner-friendly yet impressive.
- Perfect for Celebrations: Its elegant presentation makes it ideal for special occasions, from birthdays to anniversaries.
- Customizable: You can dress it up with garnishes like berries, whipped cream, or chocolate curls.
- Make-Ahead Dessert: The cake can be prepared in advance, giving you more time to enjoy the moment with your guests.

Ingredients You’ll Need
For the Cake:
- 1 cup sugar
- 3/4 cup all-purpose flour
- 1/3 cup cocoa powder
- 3/4 teaspoon baking powder
- 3/4 teaspoon baking soda
- 1/2 teaspoon salt
- 1 large egg
- 1/2 cup milk
- 1/4 cup vegetable oil
- 1 teaspoon vanilla extract
- 1/2 cup boiling water
For the Chocolate Mousse:
- 1 1/2 cups heavy cream
- 1 cup chocolate chips or chopped chocolate
- 2 tablespoons sugar
- 1 teaspoon vanilla extract
How to Make Nigella’s Chocolate Mousse Cake
Step 1: Prepare Your Baking Essentials
Start by preheating your oven to 350°F (175°C). Grease and lightly flour an 8-inch round cake pan or line it with parchment paper. This step ensures your cake releases effortlessly after baking, leaving you with a flawless base.
Step 2: Mix the Dry Ingredients
In a large mixing bowl, combine sugar, flour, cocoa powder, baking powder, baking soda, and salt. Whisk them together until fully blended. This step helps distribute the leavening agents evenly for a consistent rise.
Step 3: Add the Wet Ingredients
To the dry mixture, add the egg, milk, vegetable oil, and vanilla extract. Beat the mixture with a whisk or electric mixer until smooth and glossy. The batter will be thick at this stage, so take your time to ensure everything is well combined.
Step 4: Incorporate Boiling Water
Carefully pour in the boiling water and stir until the batter becomes thin and smooth. Don’t worry if it seems very runny—this is the secret to the cake’s moist texture. Stir gently to avoid splashing, and watch the batter transform.
Step 5: Bake the Cake
Pour the batter into your prepared pan and bake for 30–35 minutes. You’ll know it’s done when a toothpick inserted into the center comes out clean. Let the cake cool in the pan for 10 minutes, then transfer it to a wire rack to cool completely.
Step 6: Make the Chocolate Mousse
While the cake cools, prepare the mousse. Melt the chocolate chips or chopped chocolate in a microwave-safe bowl, heating in 30-second intervals and stirring between each. Allow it to cool slightly. In a separate bowl, whip the heavy cream, sugar, and vanilla extract until soft peaks form. Gently fold the melted chocolate into the whipped cream, creating a light and airy mousse.
Step 7: Assemble the Cake
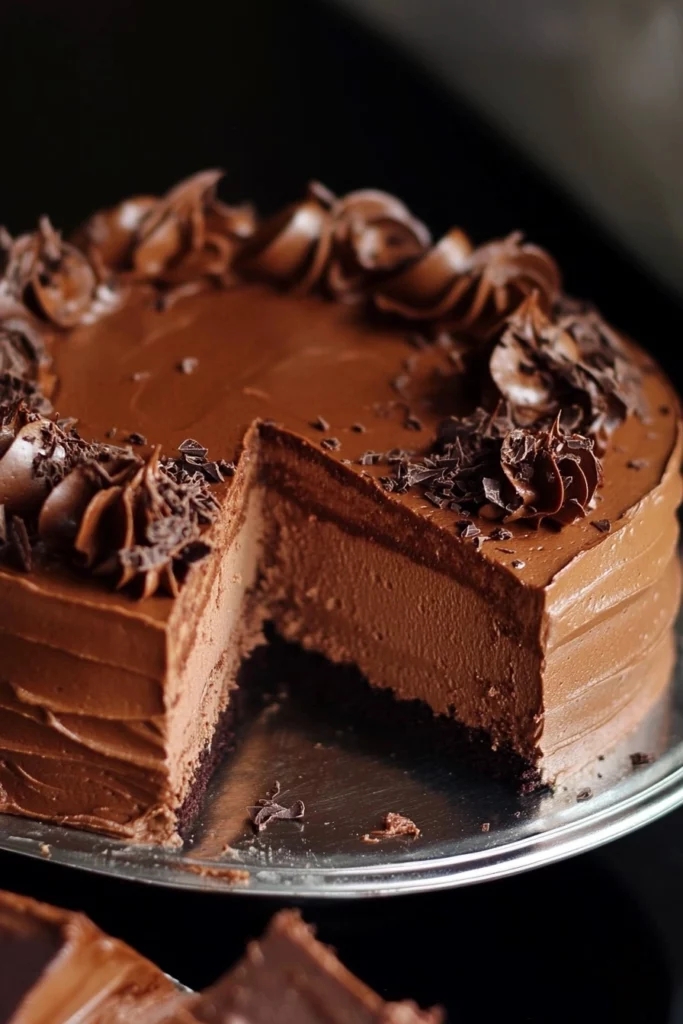
Slice the cooled cake horizontally into two layers using a serrated knife. Place the bottom layer on your serving plate and spread a thick layer of mousse on top. Gently position the second cake layer over it. Use the remaining mousse to frost the top and sides, smoothing it out for an elegant look.
Step 8: Chill and Serve
Refrigerate the cake for at least an hour to set the mousse. This step enhances the texture and allows the flavors to meld. When ready to serve, garnish with chocolate curls, a dusting of cocoa powder, or fresh berries for a stunning finish.
Helpful Tips for Success
- Don’t Skip the Cooling: Ensure the cake is fully cooled before applying the mousse. A warm cake can cause the mousse to melt and lose its structure.
- Use Quality Chocolate: Since chocolate is the star of the recipe, opt for high-quality chocolate chips or bars for the best flavor.
- Gentle Folding: When mixing the melted chocolate with whipped cream, use a folding motion to preserve the mousse’s airy texture.
- Garnishing Ideas: For a professional touch, decorate the cake with chocolate shavings, raspberries, or a sprinkle of powdered sugar.
Recipe Details
- Prep Time: 25 minutes
- Cook Time: 35 minutes
- Chilling Time: 1 hour
- Total Time: 2 hours
- Yield: 8 servings
- Category: Dessert
- Method: Baking
- Cuisine: International
- Diet: Vegetarian
Notes
- Room Temperature Ingredients: Use room-temperature egg and milk for a smoother batter.
- Pan Size: Stick to an 8-inch round pan; adjust baking time if using a different size.
- Gentle Folding: Fold the melted chocolate into whipped cream carefully to keep the mousse airy.
- Chill Tools for Mousse: Use a cold bowl and whisk for better cream whipping.
- Check for Doneness: A toothpick should come out clean or with a few crumbs.
- Serving Tip: Let the chilled cake sit at room temperature for 10–15 minutes before serving.
- Gluten-Free Option: Substitute all-purpose flour with a gluten-free 1:1 blend.
- Chocolate Temperature: Let melted chocolate cool slightly before mixing with cream.
- Creative Serving: Try layering cake and mousse in dessert cups for individual portions.
Frequently Asked Questions
Can I make this cake ahead of time?
Yes! This cake tastes even better after chilling, so feel free to make it a day ahead. Just keep it covered in the refrigerator.
What if I don’t have a mixer?
No problem! You can mix the batter by hand with a whisk. It may take a bit longer, but the result will be just as delicious.
Can I use dark chocolate for the mousse?
Absolutely! Dark chocolate adds a more intense flavor. Adjust the sugar in the mousse to balance the sweetness.
How should I store leftovers?
Store the cake in an airtight container in the refrigerator for up to 3 days. For longer storage, freeze individual slices wrapped in plastic wrap and foil.
Related Recipes
If you loved this recipe, check out these other chocolate treats:
Conclusion
This Chocolate Mousse Cake is more than just a dessert—it’s an experience. From its decadent flavor to its soft, luscious texture, it’s a recipe that makes any occasion feel special. Whether you’re sharing it with loved ones or savoring it solo, every bite is a celebration of chocolate at its finest. So, roll up your sleeves, grab your whisk, and let this recipe bring a touch of magic to your kitchen!
Print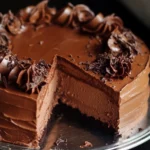
Nigella’s Chocolate Mousse Cake
Description
There’s something magical about a cake that doubles as a mousse—a dessert so rich and velvety, it feels like a warm embrace. Nigella Lawson’s Chocolate Mousse Cake captures the perfect balance of deep chocolate flavor and creamy texture. It’s a dessert that speaks to chocolate lovers and comfort seekers alike, combining indulgence with nostalgia.
This cake is the ultimate crowd-pleaser, perfect for holidays, birthdays, or just those days when you want a little decadence. Its simplicity makes it approachable, even for novice bakers. It’s one of those desserts that looks impressive but doesn’t require complicated techniques or hard-to-find ingredients. Plus, the process of baking it is therapeutic: the chocolatey aroma filling your kitchen, the satisfaction of smoothing the mousse, and, finally, the joy of seeing your loved ones savoring every bite.
Whether you’re baking this cake to celebrate a special occasion or to indulge in some well-deserved “me time,” it’s sure to become a cherished favorite in your dessert repertoire.
Ingredients
For the Cake:
- 1 cup sugar
- 3/4 cup all-purpose flour
- 1/3 cup cocoa powder
- 3/4 teaspoon baking powder
- 3/4 teaspoon baking soda
- 1/2 teaspoon salt
- 1 large egg
- 1/2 cup milk
- 1/4 cup vegetable oil
- 1 teaspoon vanilla extract
- 1/2 cup boiling water
For the Chocolate Mousse:
- 1 1/2 cups heavy cream
- 1 cup chocolate chips or chopped chocolate
- 2 tablespoons sugar
- 1 teaspoon vanilla extract
Instructions
Step 1: Prepare Your Baking Essentials
Start by preheating your oven to 350°F (175°C). Grease and lightly flour an 8-inch round cake pan or line it with parchment paper. This step ensures your cake releases effortlessly after baking, leaving you with a flawless base.
Step 2: Mix the Dry Ingredients
In a large mixing bowl, combine sugar, flour, cocoa powder, baking powder, baking soda, and salt. Whisk them together until fully blended. This step helps distribute the leavening agents evenly for a consistent rise.
Step 3: Add the Wet Ingredients
To the dry mixture, add the egg, milk, vegetable oil, and vanilla extract. Beat the mixture with a whisk or electric mixer until smooth and glossy. The batter will be thick at this stage, so take your time to ensure everything is well combined.
Step 4: Incorporate Boiling Water
Carefully pour in the boiling water and stir until the batter becomes thin and smooth. Don’t worry if it seems very runny—this is the secret to the cake’s moist texture. Stir gently to avoid splashing, and watch the batter transform.
Step 5: Bake the Cake
Pour the batter into your prepared pan and bake for 30–35 minutes. You’ll know it’s done when a toothpick inserted into the center comes out clean. Let the cake cool in the pan for 10 minutes, then transfer it to a wire rack to cool completely.
Step 6: Make the Chocolate Mousse
While the cake cools, prepare the mousse. Melt the chocolate chips or chopped chocolate in a microwave-safe bowl, heating in 30-second intervals and stirring between each. Allow it to cool slightly. In a separate bowl, whip the heavy cream, sugar, and vanilla extract until soft peaks form. Gently fold the melted chocolate into the whipped cream, creating a light and airy mousse.
Step 7: Assemble the Cake
Slice the cooled cake horizontally into two layers using a serrated knife. Place the bottom layer on your serving plate and spread a thick layer of mousse on top. Gently position the second cake layer over it. Use the remaining mousse to frost the top and sides, smoothing it out for an elegant look.
Step 8: Chill and Serve
Refrigerate the cake for at least an hour to set the mousse. This step enhances the texture and allows the flavors to meld. When ready to serve, garnish with chocolate curls, a dusting of cocoa powder, or fresh berries for a stunning finish.
Notes
- Room Temperature Ingredients: Use room-temperature egg and milk for a smoother batter.
- Pan Size: Stick to an 8-inch round pan; adjust baking time if using a different size.
- Gentle Folding: Fold the melted chocolate into whipped cream carefully to keep the mousse airy.
- Chill Tools for Mousse: Use a cold bowl and whisk for better cream whipping.
- Check for Doneness: A toothpick should come out clean or with a few crumbs.
- Serving Tip: Let the chilled cake sit at room temperature for 10–15 minutes before serving.
- Gluten-Free Option: Substitute all-purpose flour with a gluten-free 1:1 blend.
- Chocolate Temperature: Let melted chocolate cool slightly before mixing with cream.
- Creative Serving: Try layering cake and mousse in dessert cups for individual portions.